
How Can We Help?
SmartDoc Theme : Usage
Our SmartDoc Themes are set up to be fully-responsive* and mobile ready. They boast the latest technology such as advanced CSS, animated elements, sliders, interactive widgets, video and social integrations, and much more!
Now you can see why our dynamically generated SmartDocs are so much easier, more affordable, and far more powerful than a sea of expensive, traditional PDF documents in a static content library.
Let’s take a closer look at how you work with these SmartDoc Themes to leverage the power described above.
How Do I Use the SmartDoc Theme?
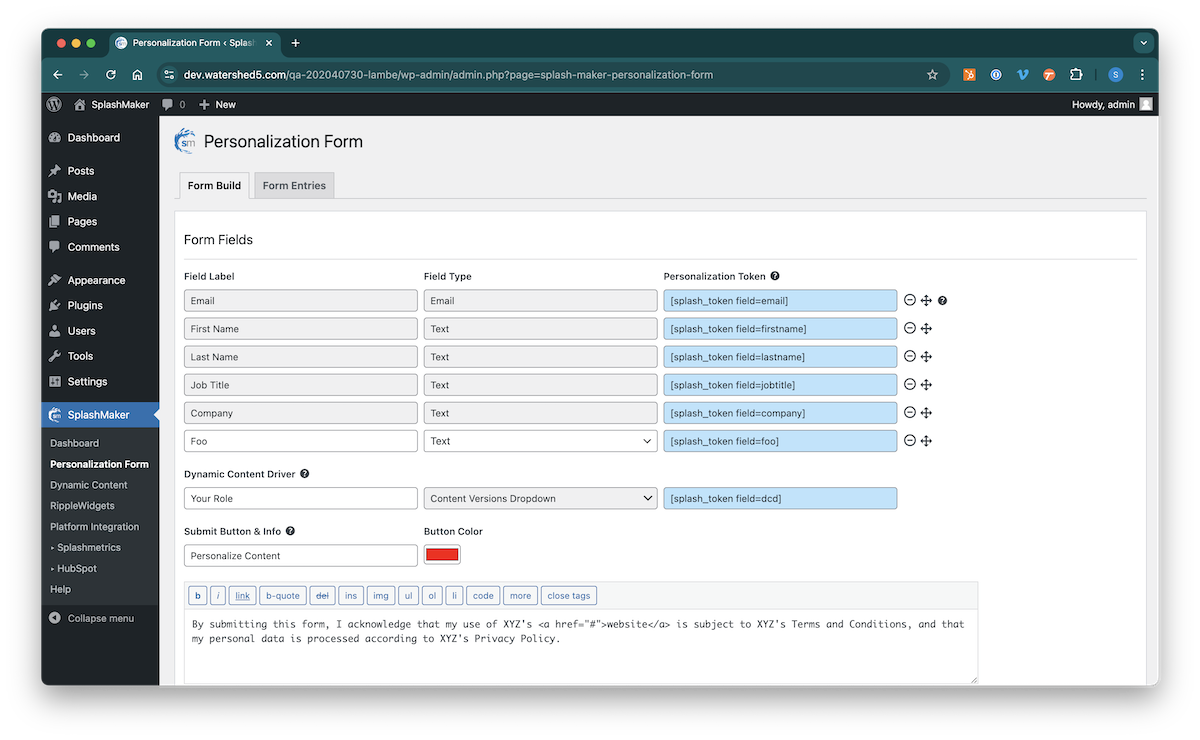
First find the SplashMaker item in the side menu and click on the Personalization Form component. A basic version of the form has already been set up for you to get you started. It should look something like this…
More info on the Personalization form and how to use it can be found in the help file here.
Make changes to the form as you see fit. But take notice of a few important things:
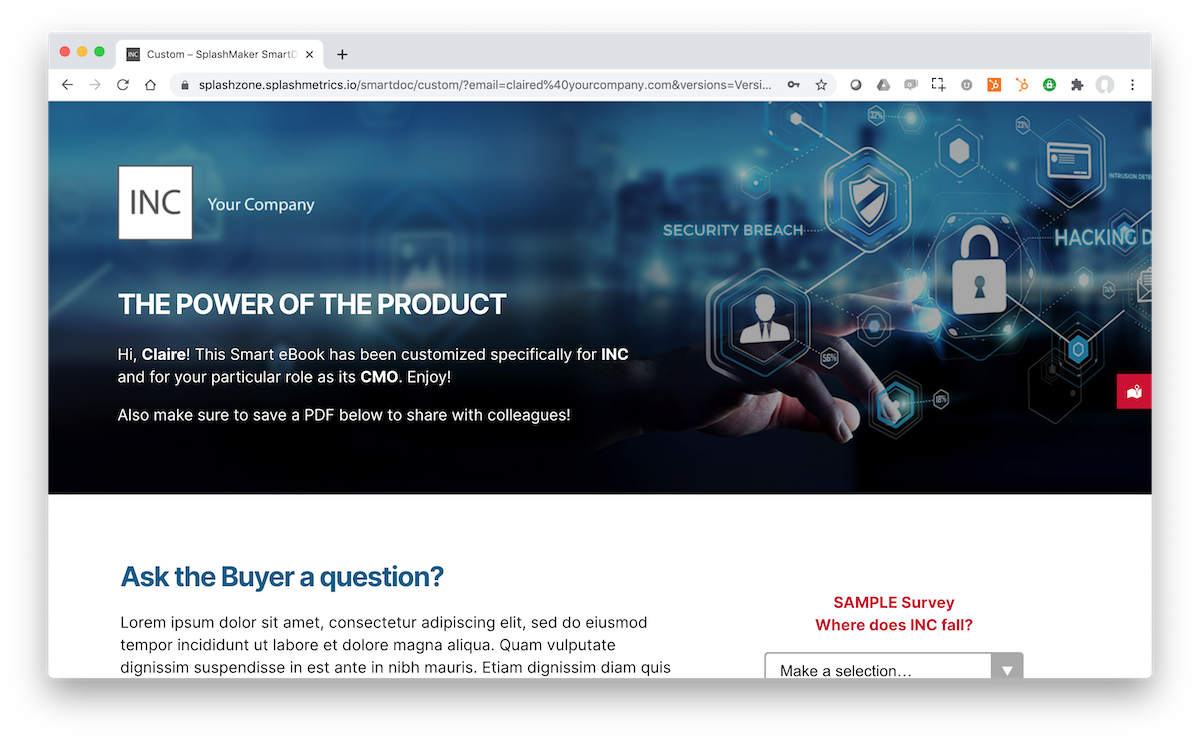
First, you see the “Personalization Tokens” for each form item in the blue fields. This is how you personalize the copy to the Buyer. We’ve already done this for you using the first name, company name, and job title tokens in the content as you’ll see below. But you can take this in whatever direction you’d like.
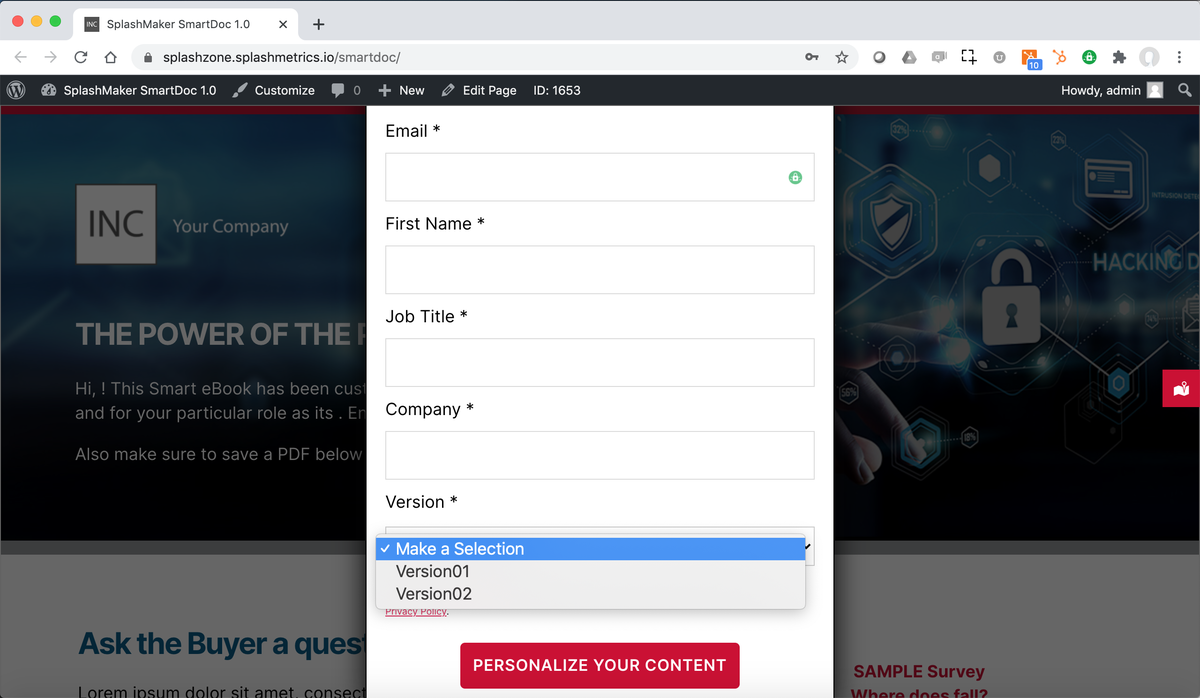
Next is the Dynamic Content Driver. You’ll notice that the existing Dynamic Content pages (Version01, Version02) show in that dropdown. This is how you serve up different experiences to different Buyers based on our automated SmartLinking or the actual form as shown below. We’ll come back to that.
Finally, you see the Submit Button & Info item. This allows you to label the final submit button of the form shown above as you see fit, customize the color and copy of the button, and include notation text on the form.
Now let’s look at the smart content. Select the Dynamic Content component from the side menu then select one of the Version templates that ship with SplashMaker…
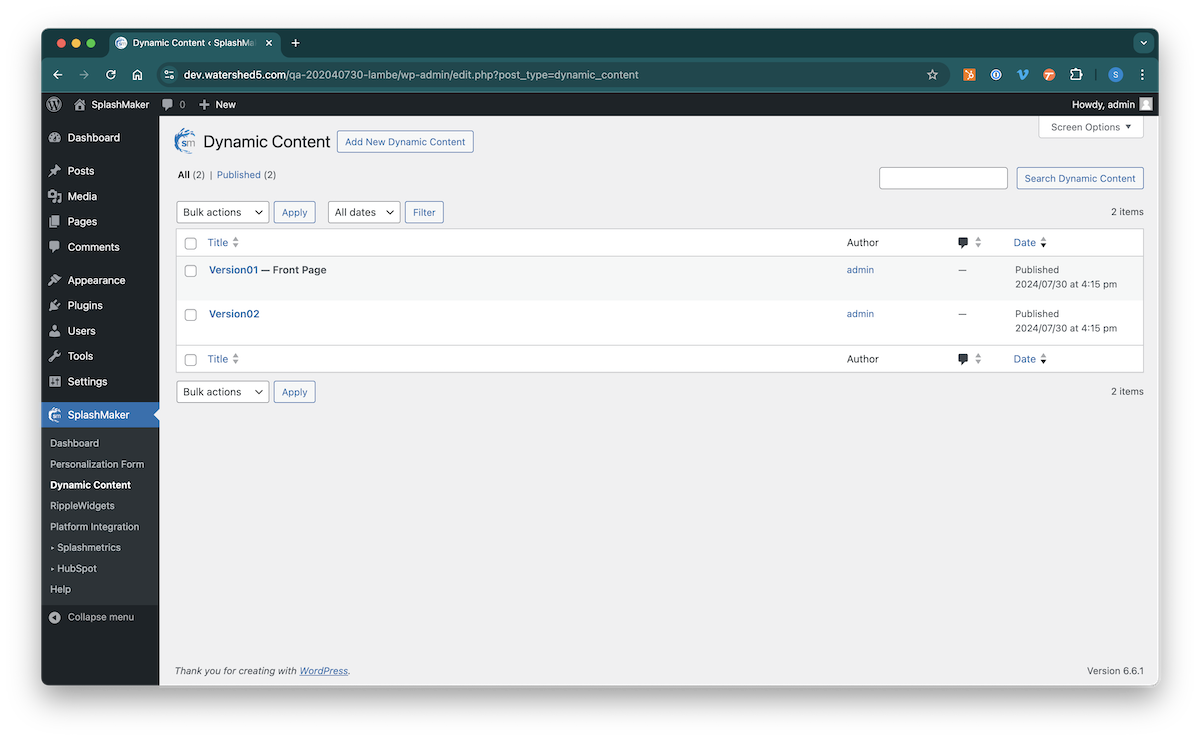

To leverage these properly, you’ll need to first decide on the page title you want to use that correlates with that Dynamic Content Driver component we just looked at. For example, if you want content for different roles in a buying group, you might start with “End User”, etc. Go ahead and rename this page as needed, then let’s continue.
To keep our themes as light, powerful, and as flexible as possible, we use the standard Gutenberg Blocks with the Getwid extension plugin. This greatly extends the core Gutenberg capability with a tremendous number of features such as animation, singular text color and size control, widgets, sliders, integrations, and more – all without the need for CSS!
All Dynamic Content pages in SplashMaker are set up in Sections and Columns. The Sections hold groupings of related content on the page, which in turn is held within the Columns.
You can move through the page and simply swap out images and edit copy to quickly and inexpensively create your first custom SmartDoc. You don’t have to write any code whatsoever!
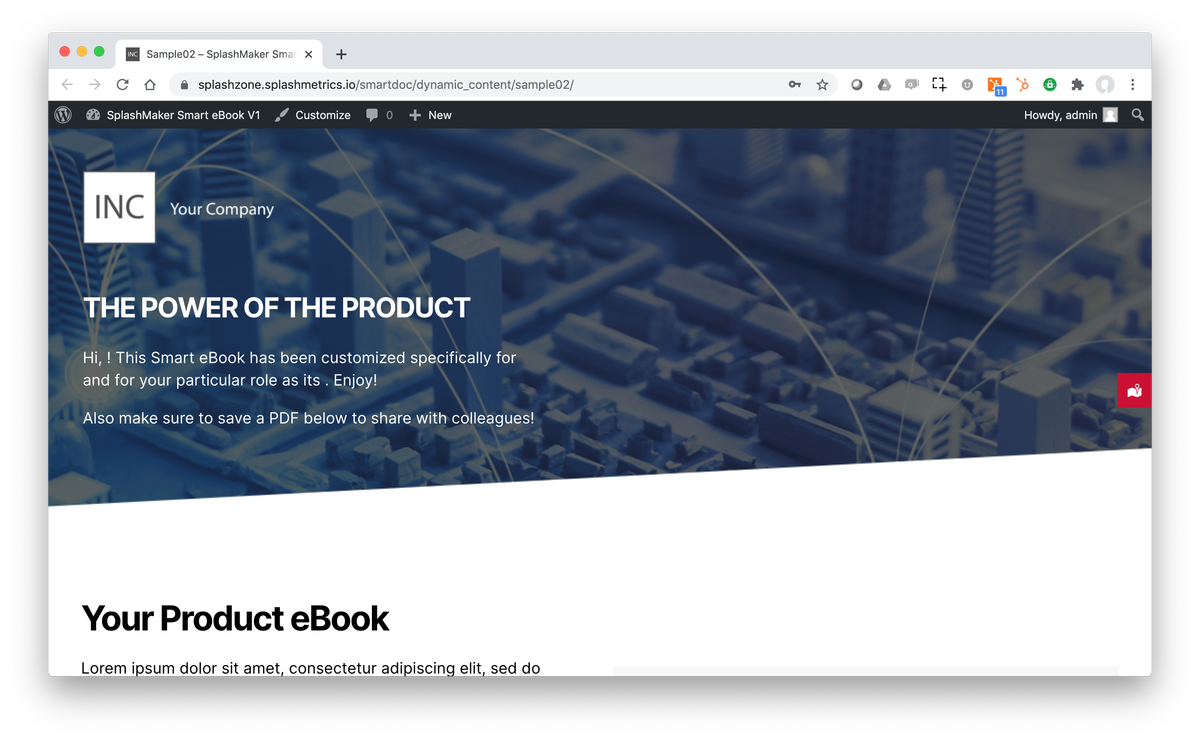
Let’s start at the top of the Version01 Dynamic Content page and look at the various pieces and how to edit them.
The first thing you’ll want to do is change out the logo. This works like any other image swap in WordPress as shown here…
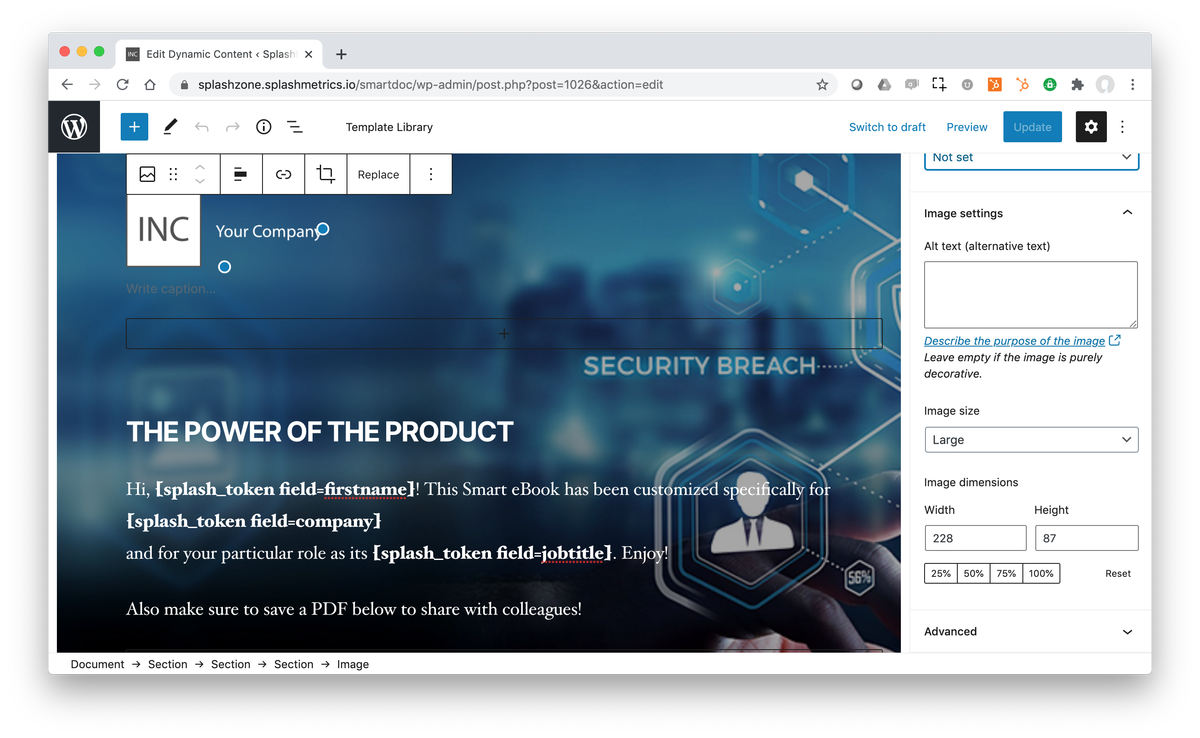
Size your new logo as appropriate making sure to keep the dimensions roughly the same as this stand-in.
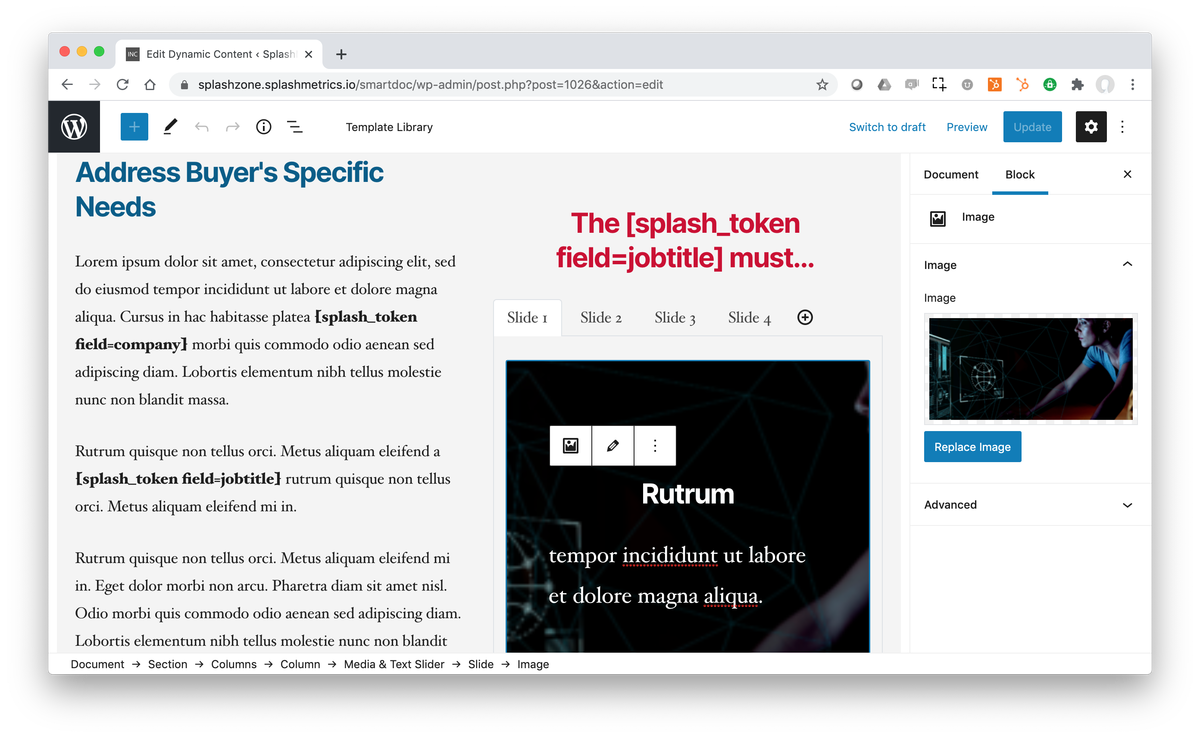
Next is the banner title and copy. These work just like any other copy editing in WordPress with a couple of exceptions. First, you can see that the Getwid blocks allow you to adjust size, color, and formatting of any selected text item without the need for CSS coding. This gives you complete flexibility in your design – and saves a tremendous amount of time and effort.
The other exception is the “splash_tokens”. These tokens are how you personalize the copy with the user’s actual information.
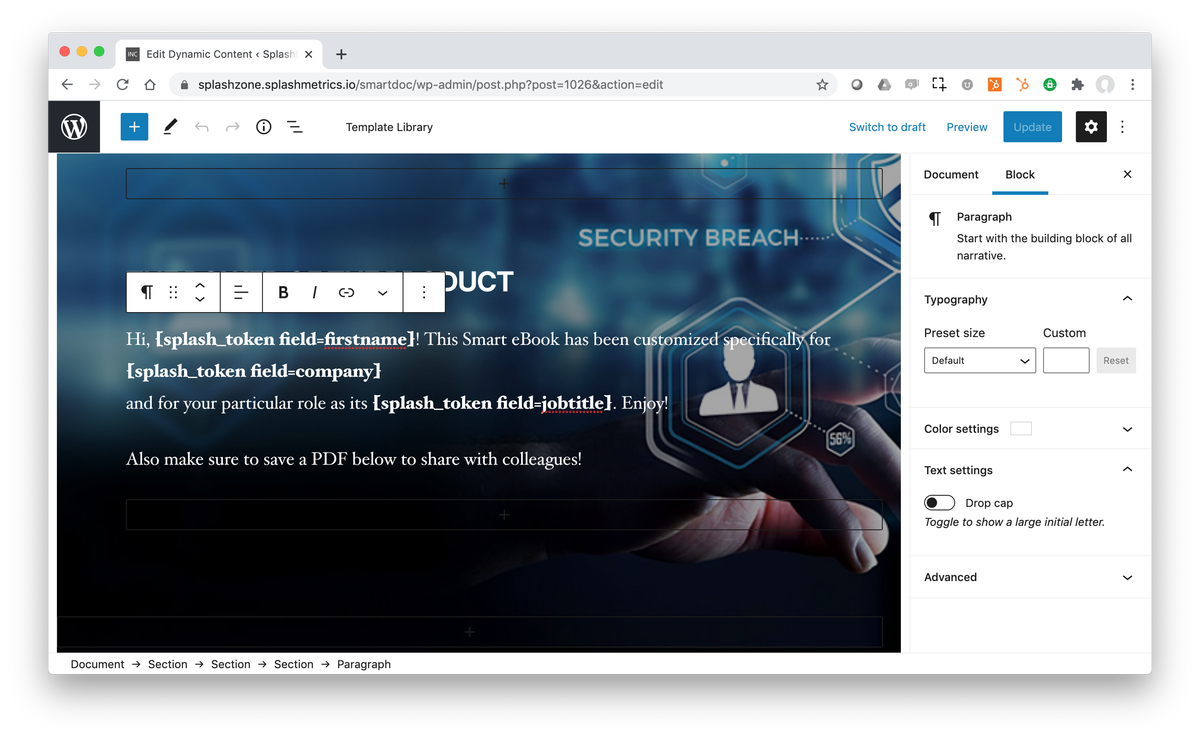
As you can see, this copy will be personalized to the user with their first name, their company name, and their job title. As mentioned above, this information and these tokens are auto-generated in SplashMaker’s Personalization Form component as you build your form…
If you want other personalizations in your copy, just click in the blue field to copy the token and place it in the text block as you see fit.
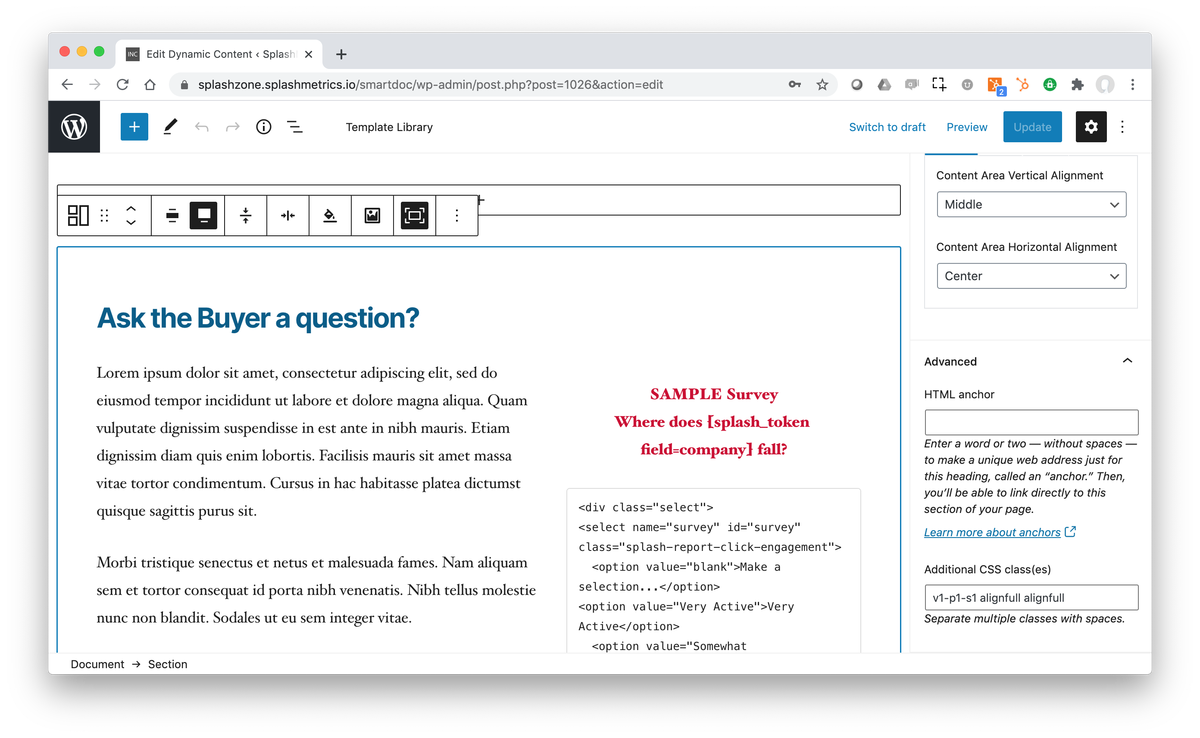
The next section contains 2 columns with copy and imagery (can be a simple image, a slider, or an interactive component like the fully-integrated RippleWidget SmartChart we’ve already set up here as a sample survey)…
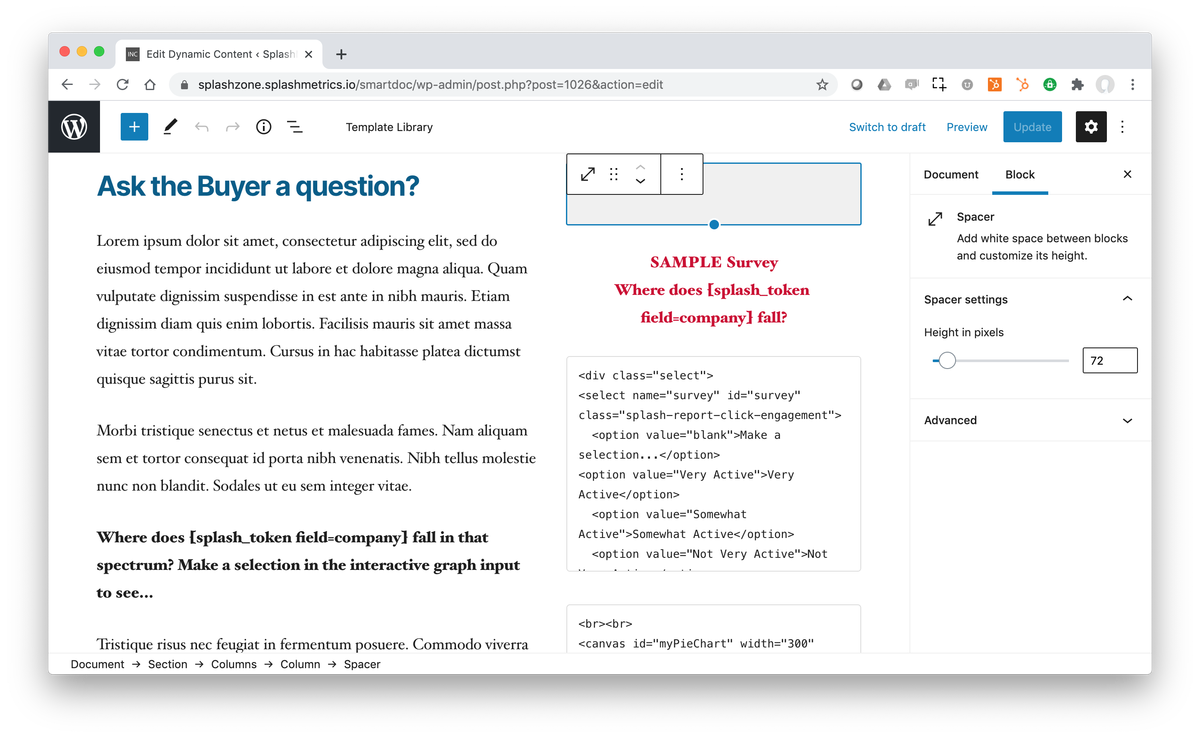
As mentioned above, you need to keep the vertical spacing of these sections as close to their current configuration as possible so that the print/save-to-PDF formatting will function as expected. So, for example, don’t exceed the total line-count (27 lines) of the body copy in this section to maintain the layout.
To give you a bit more control over this layout as you work, we’ve also provided simple Spacers as shown above that let you easily adjust alignment between the columns.
The rest of the sections, columns, and content items work the same way…
So creating your own fully personalized SmartDoc experience using these templates is quick and easy.
For more information on how to use our RippleWidgets, see the help file here.
How Do I Automatically Serve Different Content Experiences?
Once you have your Dynamic Content page template tailored to your needs, simply duplicate it as shown below…
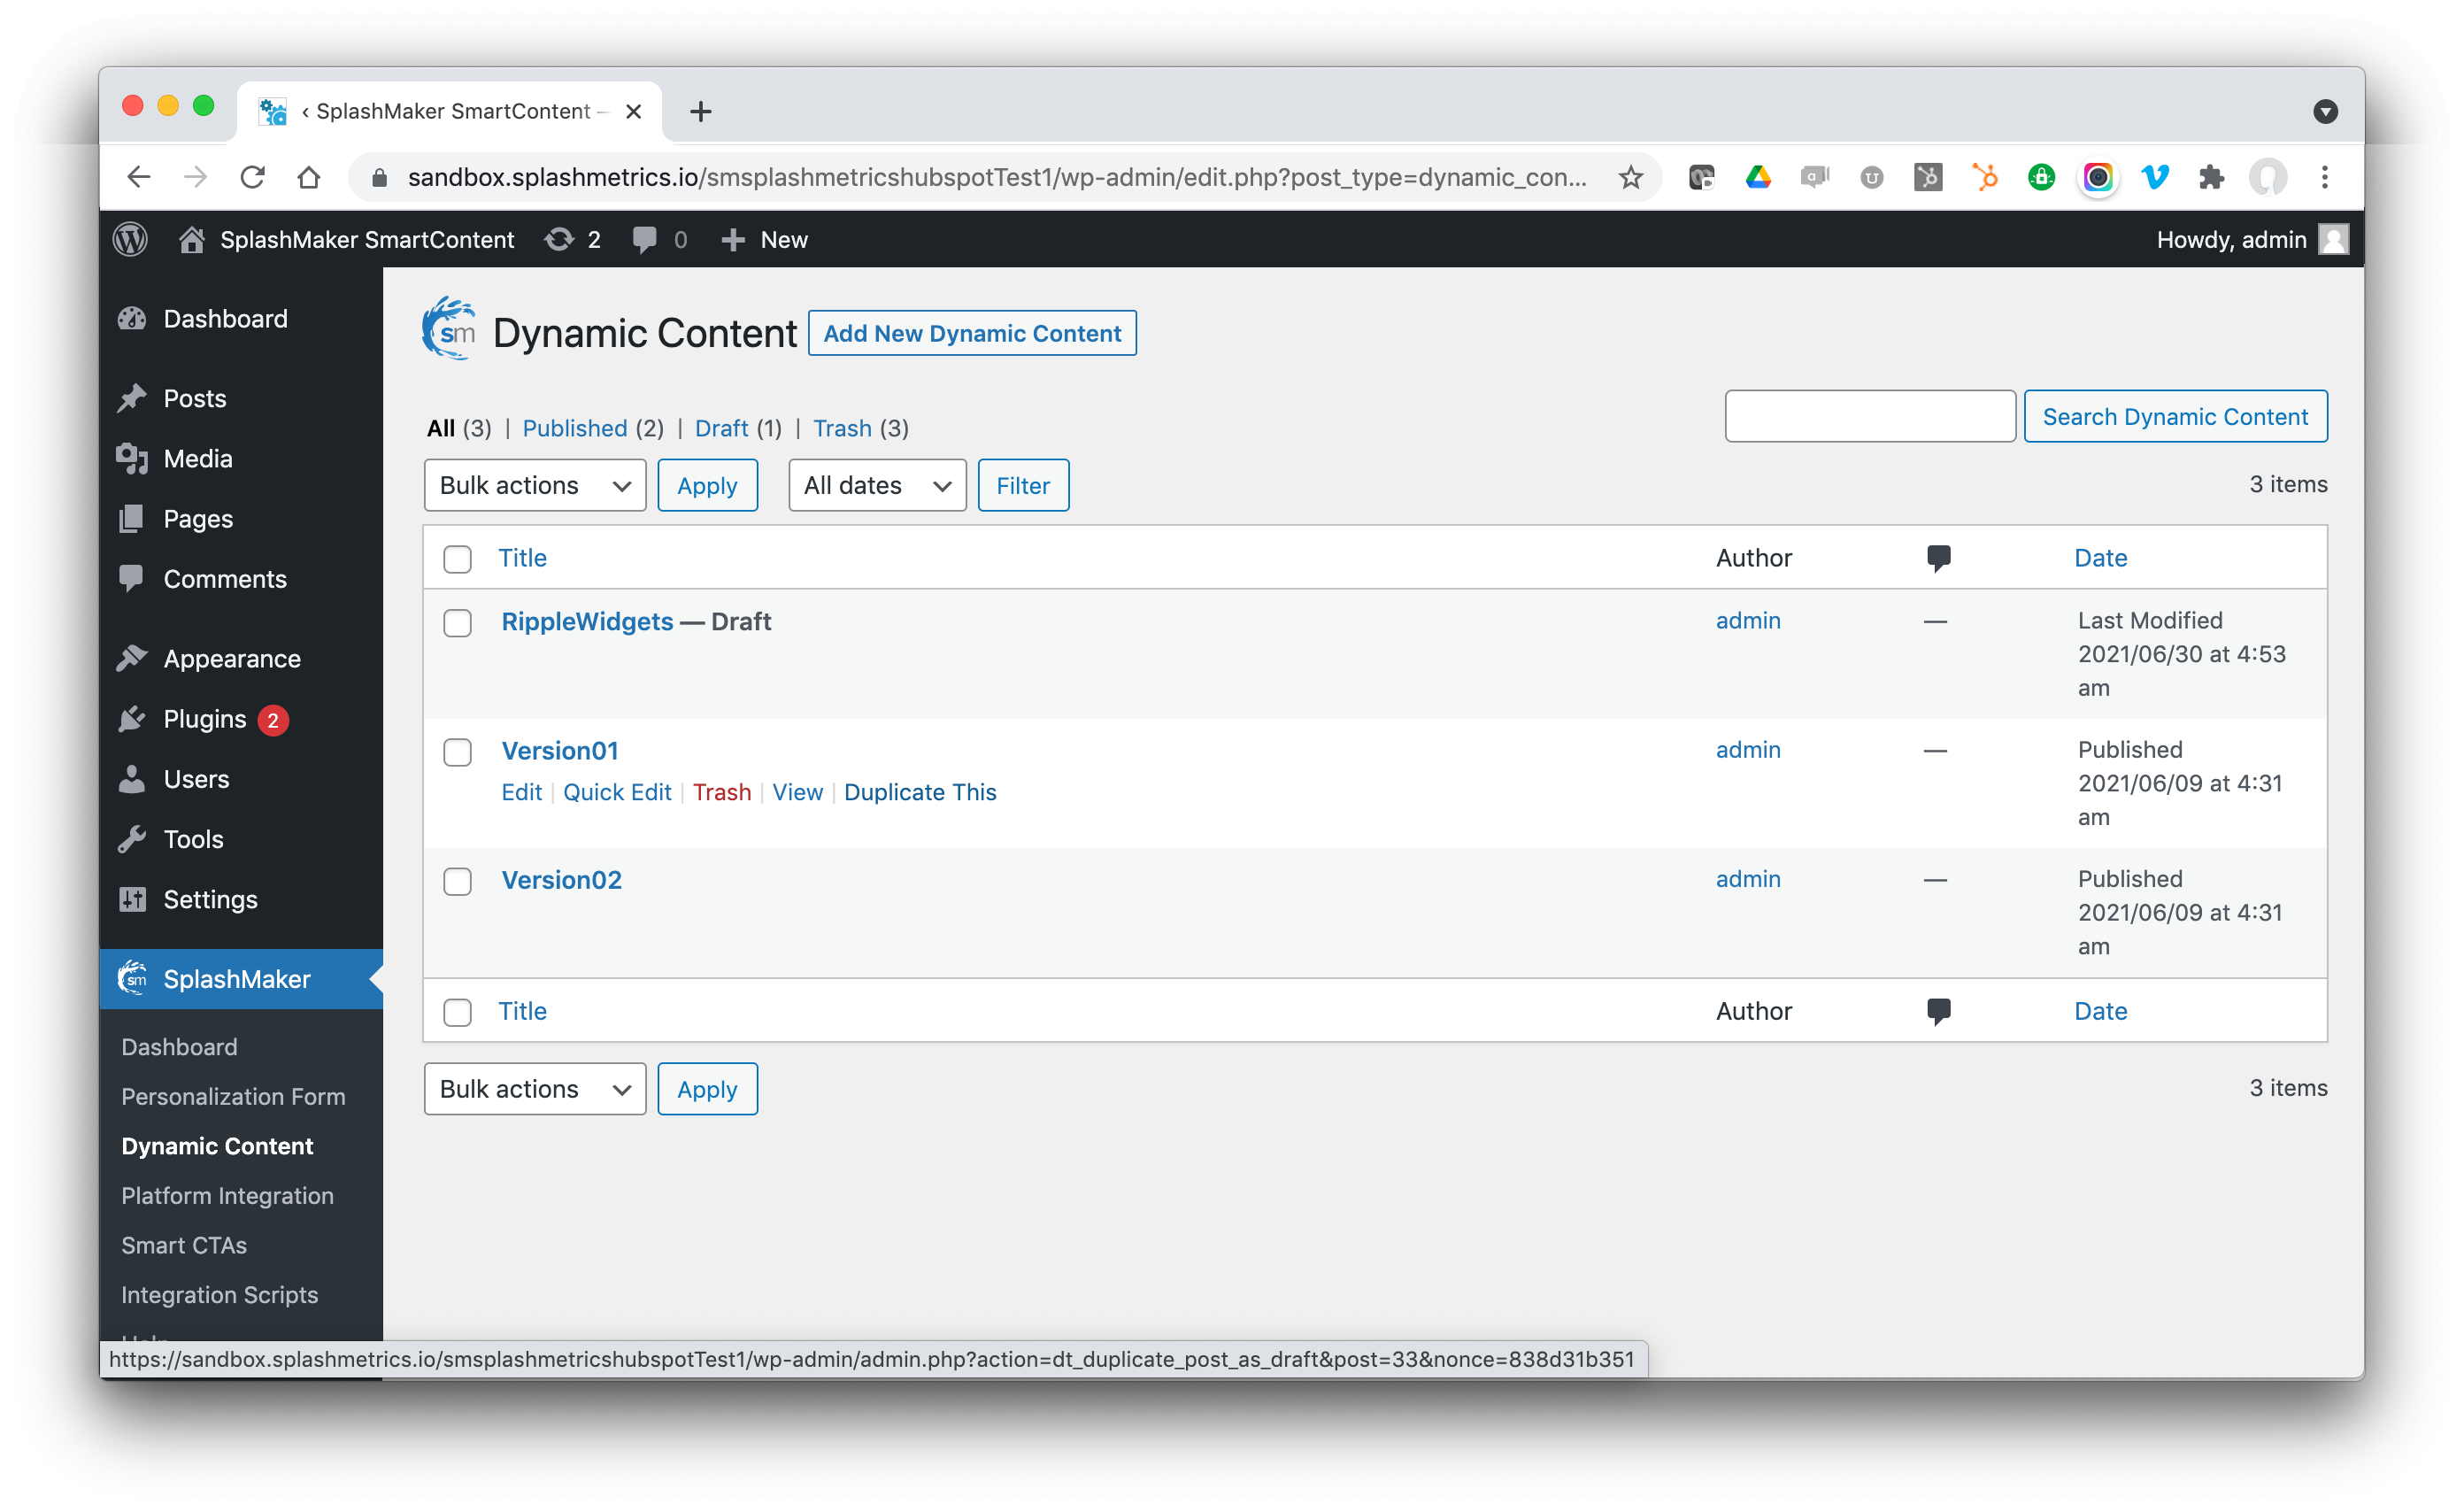
Name the new page to match the experience you are providing via the Dynamic Content Driver pulldown (e.g. – “End User”). SplashMaker takes care of the rest by also adding these new versions to the same form dropdown mentioned above!
You’ll likely also need to change the Dynamic Content Driver label (white field with “Field Label” in it) to fit the context of the experiences you’re providing – such as “Your Role” for the above ABM example.
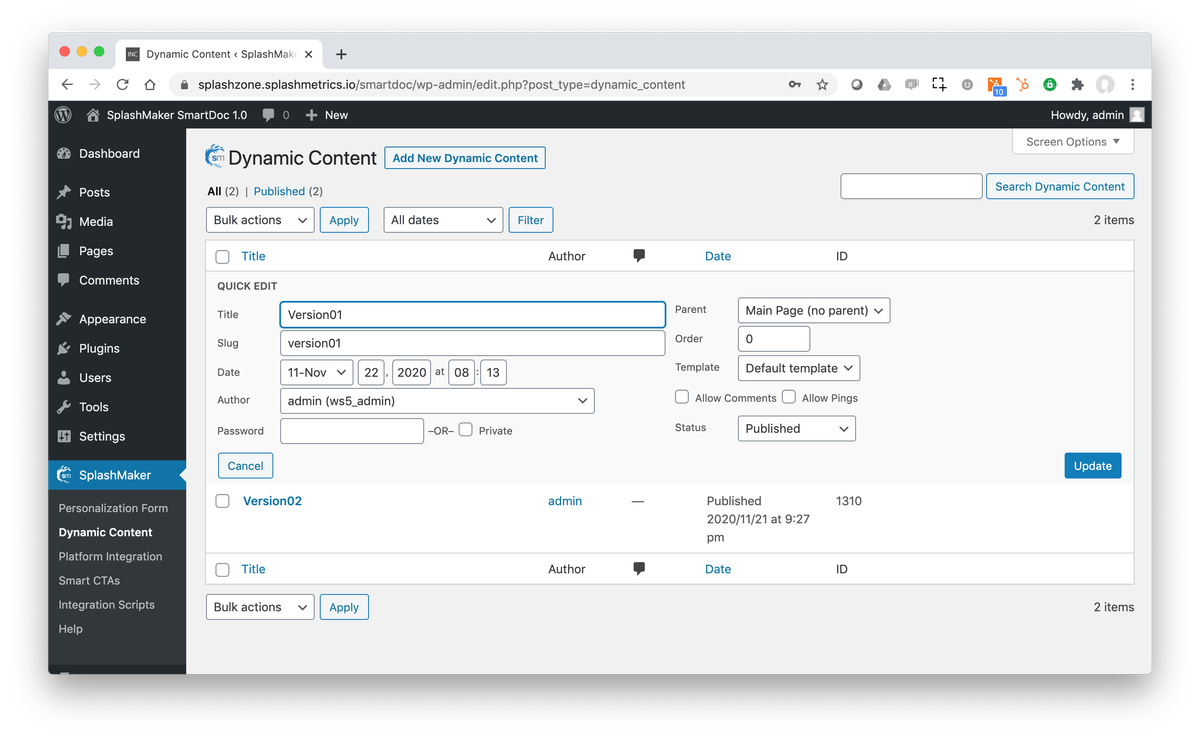
You can easily order these items in the dropdown using the Publish date for each Dynamic Content page. The newest date is first, oldest is last.
Just use Quick Edit for each Dynamic Content page and change the Date there to affect the order in the form…
Finally, remember to trash any Dynamic Content pages that you don’t want to show up in this dropdown. It will show all published Dynamic Content pages.
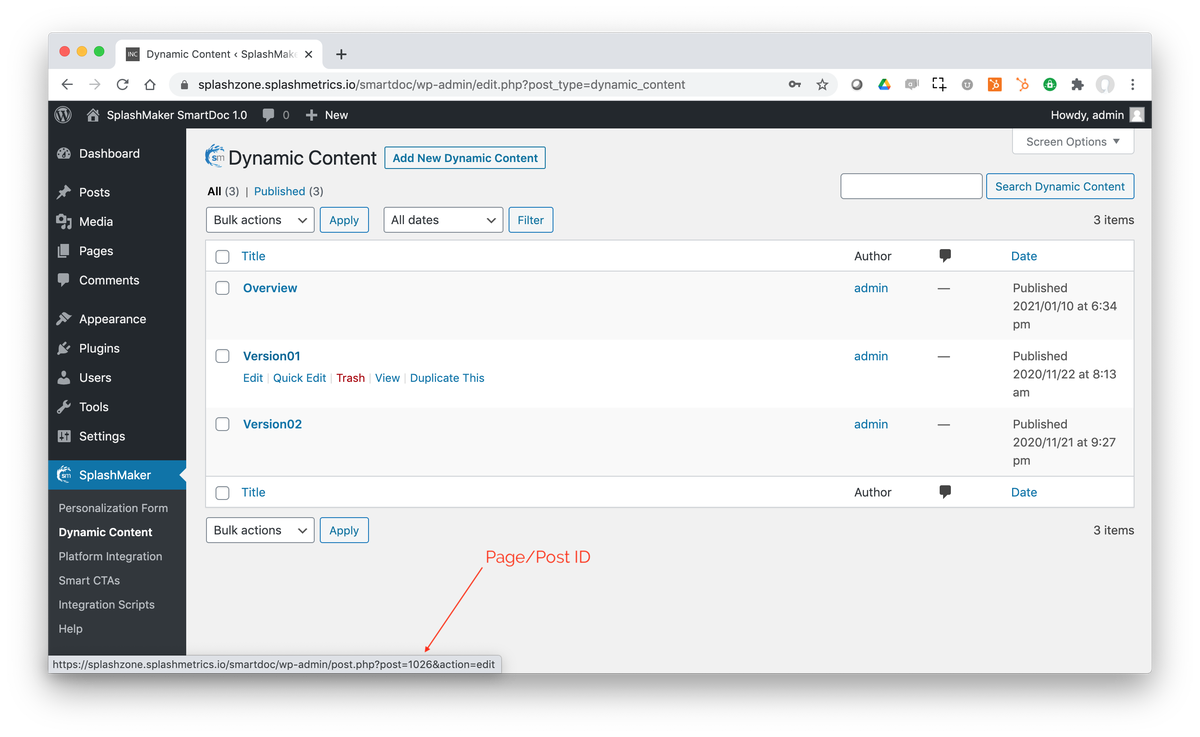
The last thing you’ll want to do is make sure the background for the landing page matches your selected design. To do this, you first need to find the Post ID for the final Dynamic Content page you want to serve as the landing page background.
This is easily done by simply hovering over the page you want to use and looking at the bottom of the page to see the ID shown here…
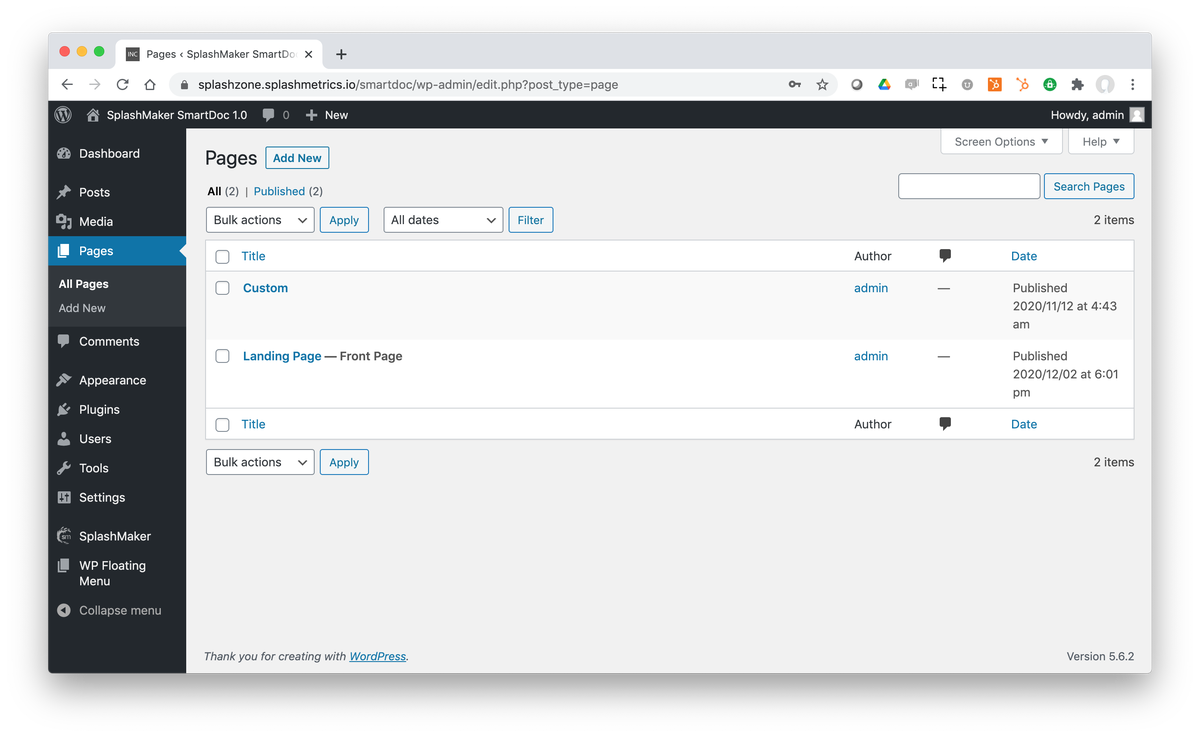
Remember that ID and go to Pages and select the Landing Page…
Click into that and change the ID number shown here…
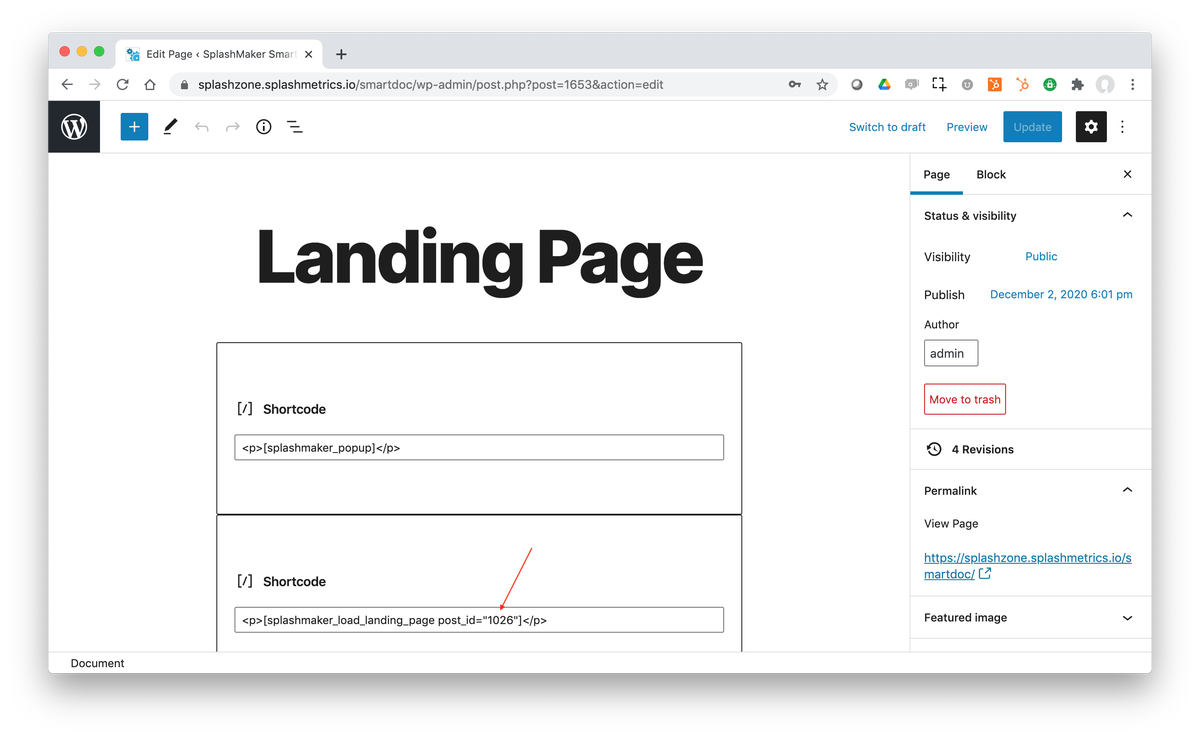
That’s it! Take it live!
As you can see, SplashMaker and our SmartDoc themes are completely changing the game when it come to creating incredible SmartContent with WordPress!
Fast, easy, affordable, and powerful. It’s all that.