How Can We Help?
SplashMaker : Journey Form Components
Availability: All Packages
Form Types
SplashMaker has two types of journey forms: Personalization and Sharing. The Personalization form is used to personalize all the content in the journey. It is a one-time form. Once the user fills it in, they’ll never see another form on any of the content assets again. The Sharing form is used to allow Buyers to share the journey with other colleagues. This form works in tandem with the side nav menu under Navigation.
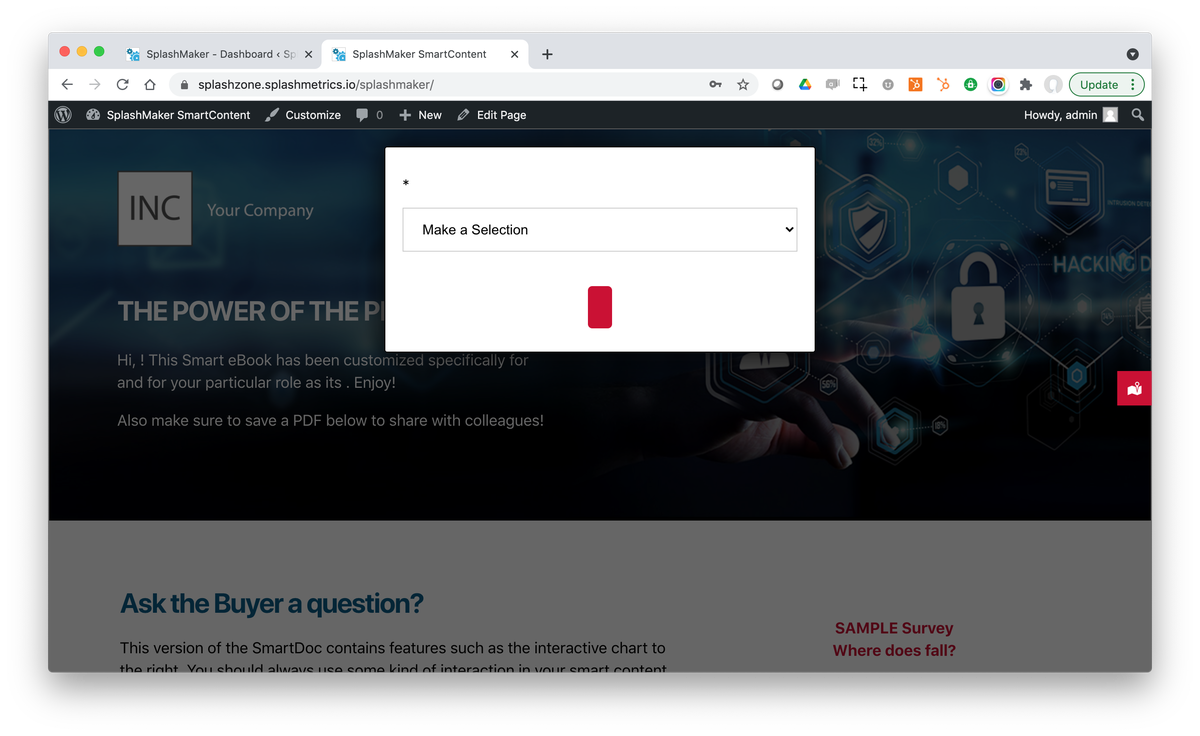
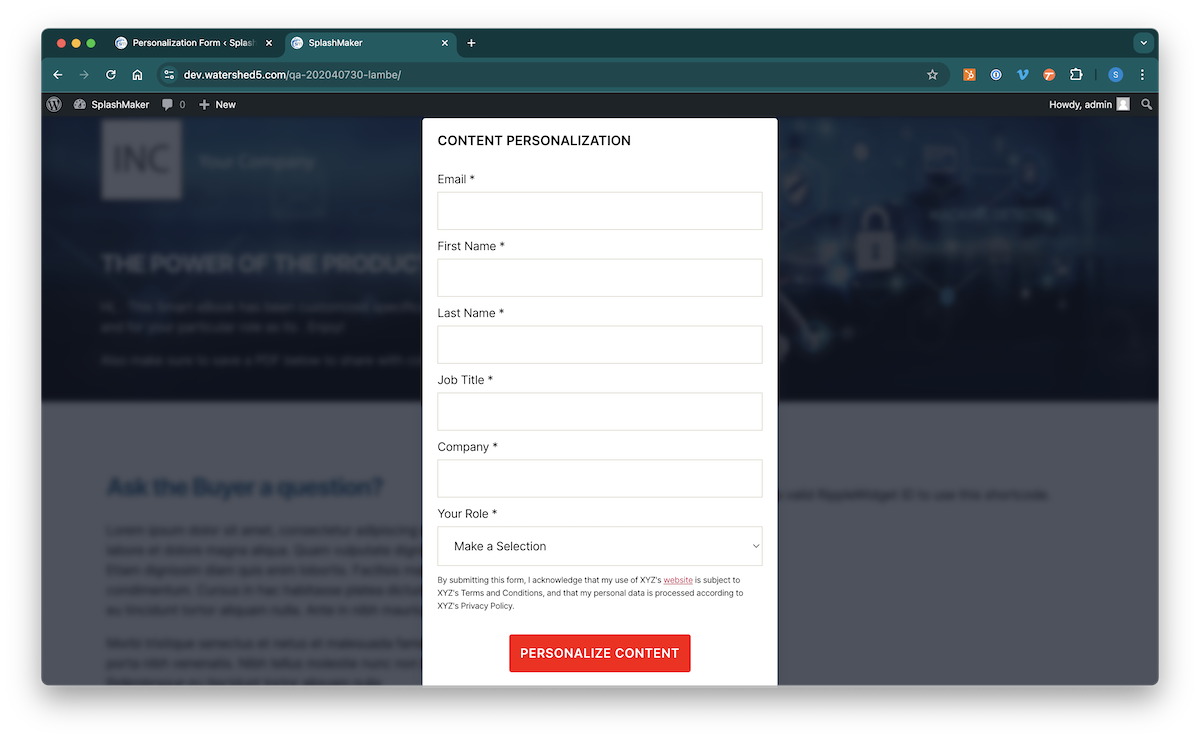
Personalization Form
What Happens Automatically on Sync
This component comes with both the basic and premium packages of SplashMaker. It will automatically be built and styled for you on sync via SplashLogicAI as shown here…
All the critical form information (email, name, company, and DCD selections) come from your Splash plan so that there is full alignment between this journey and your plan.
Beyond that, you can further customize the form as follows…
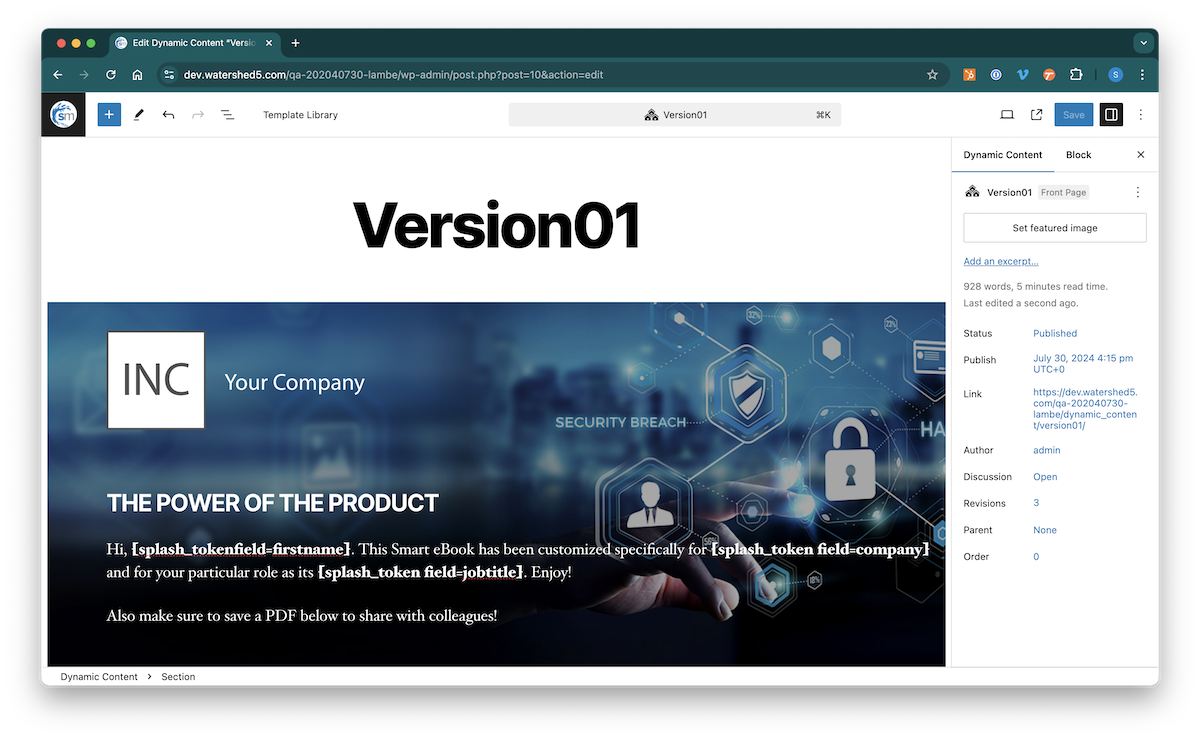
All changes to this form are automatically saved. And the form is also automatically attached to every Dynamic Content Weblet that is built.
Info Tab
Beyond this synced information, you also have various options in this Info tab to add a disclaimer and GDPR consent.
The SmartForm Settings are only available in our Premium package. These allow you to Minimize Fields that already have information in a SmartLink URL (e.g. – job title, DCD, etc.). This way the Buyer only has to provide missing information – making it easier for them to proceed without having to deal with an entire form.
The Minimize Disclaimer item just condenses the disclaimer into two lines with a Read More link. Again, this it to reduce the visual impact of the form as much as possible while still providing all critical information for sales qualification of the Buyer.
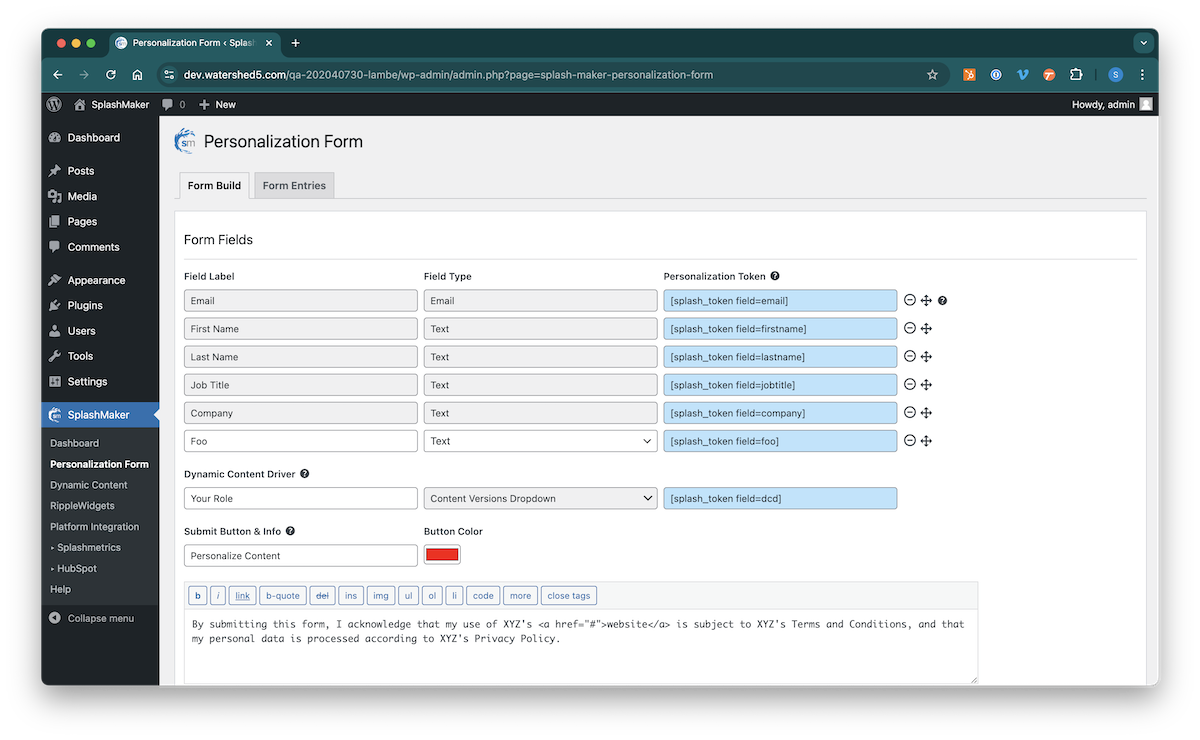
fields Tab
As you can see, the synced fields are locked and cannot be edited. They are also marked as required if indicated as such in the Splash Plan. So all this work is done for you. You can, however, re-order these fields if you’d like.
Scrolling down in this tab, you can also customize the DCD item…
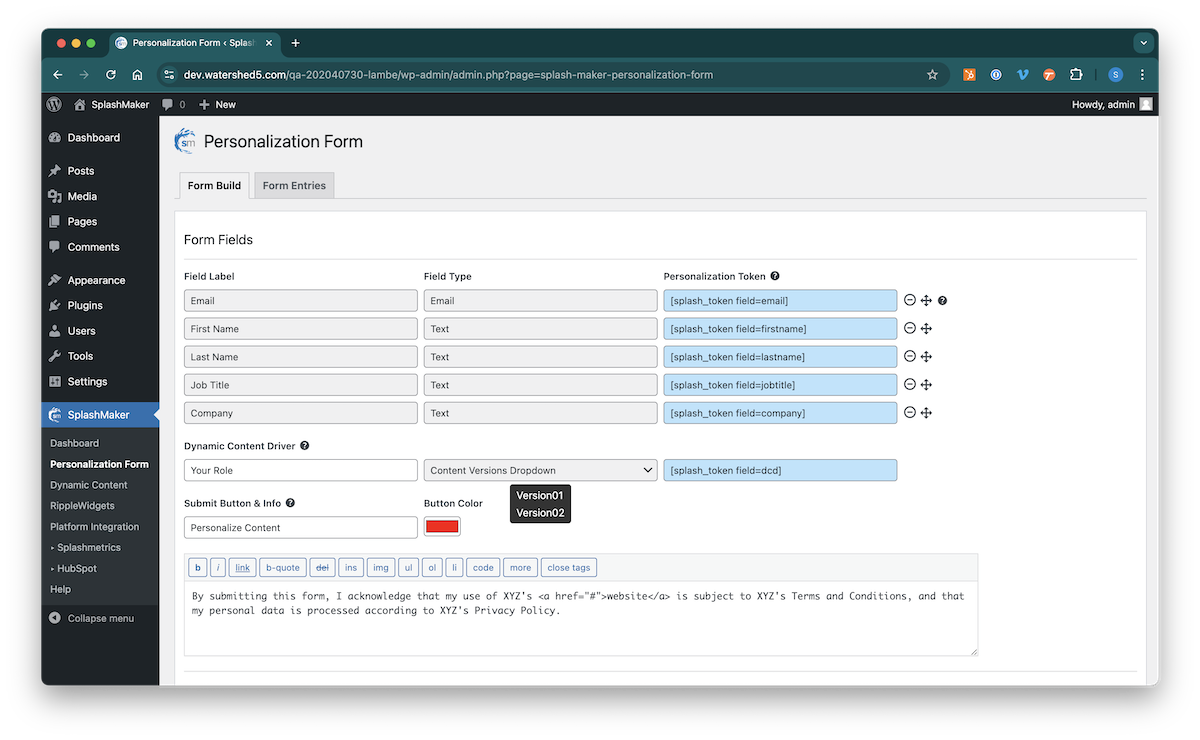
You can’t change the synced DCD items themselves since they come from the Splash Plan. But you can customize the label and prompt text as you see fit.
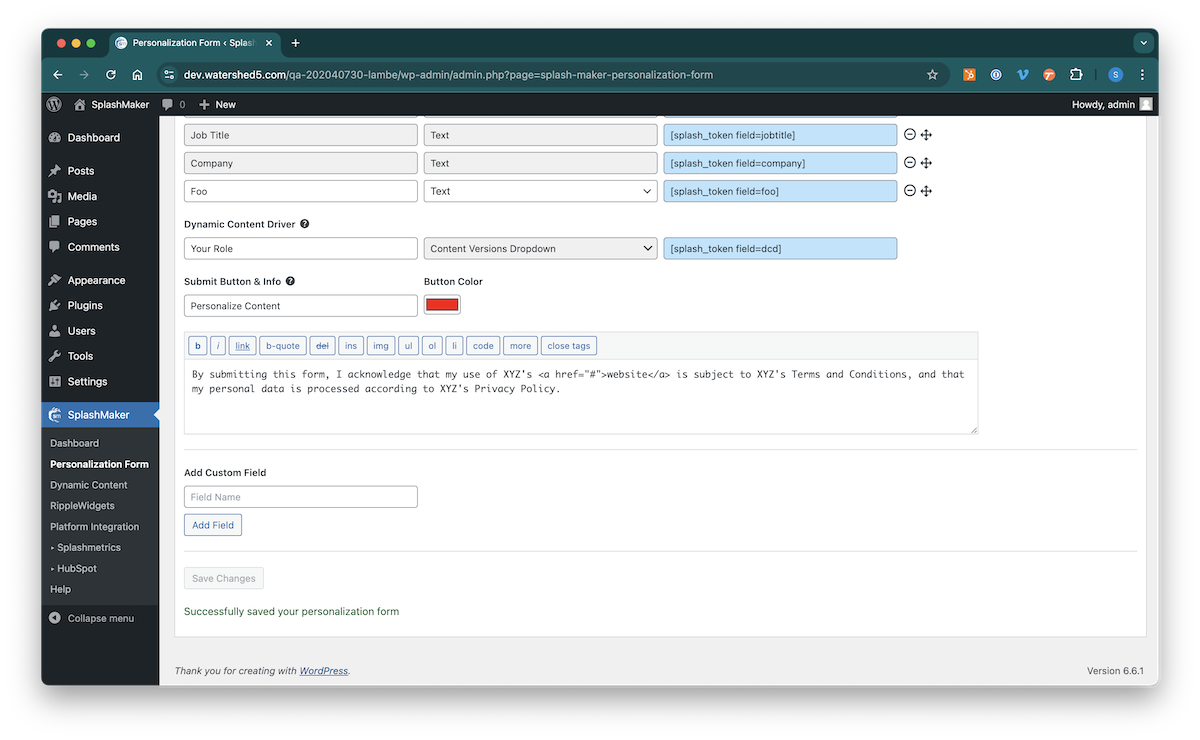
Finally, you can also add other standard fields if you need to here. This won’t disrupt the other synced fields. It will just add more information to the CRM for these additional fields.
As mentioned in the note above, this Personalization Form is automatically embedded into every Dynamic Content Weblet and will automatically show if any of the required journey information is missing in the URL. But, you also have the ability to disable this Splash Form on certain weblets if you’d like so that they are ungated (lower right).
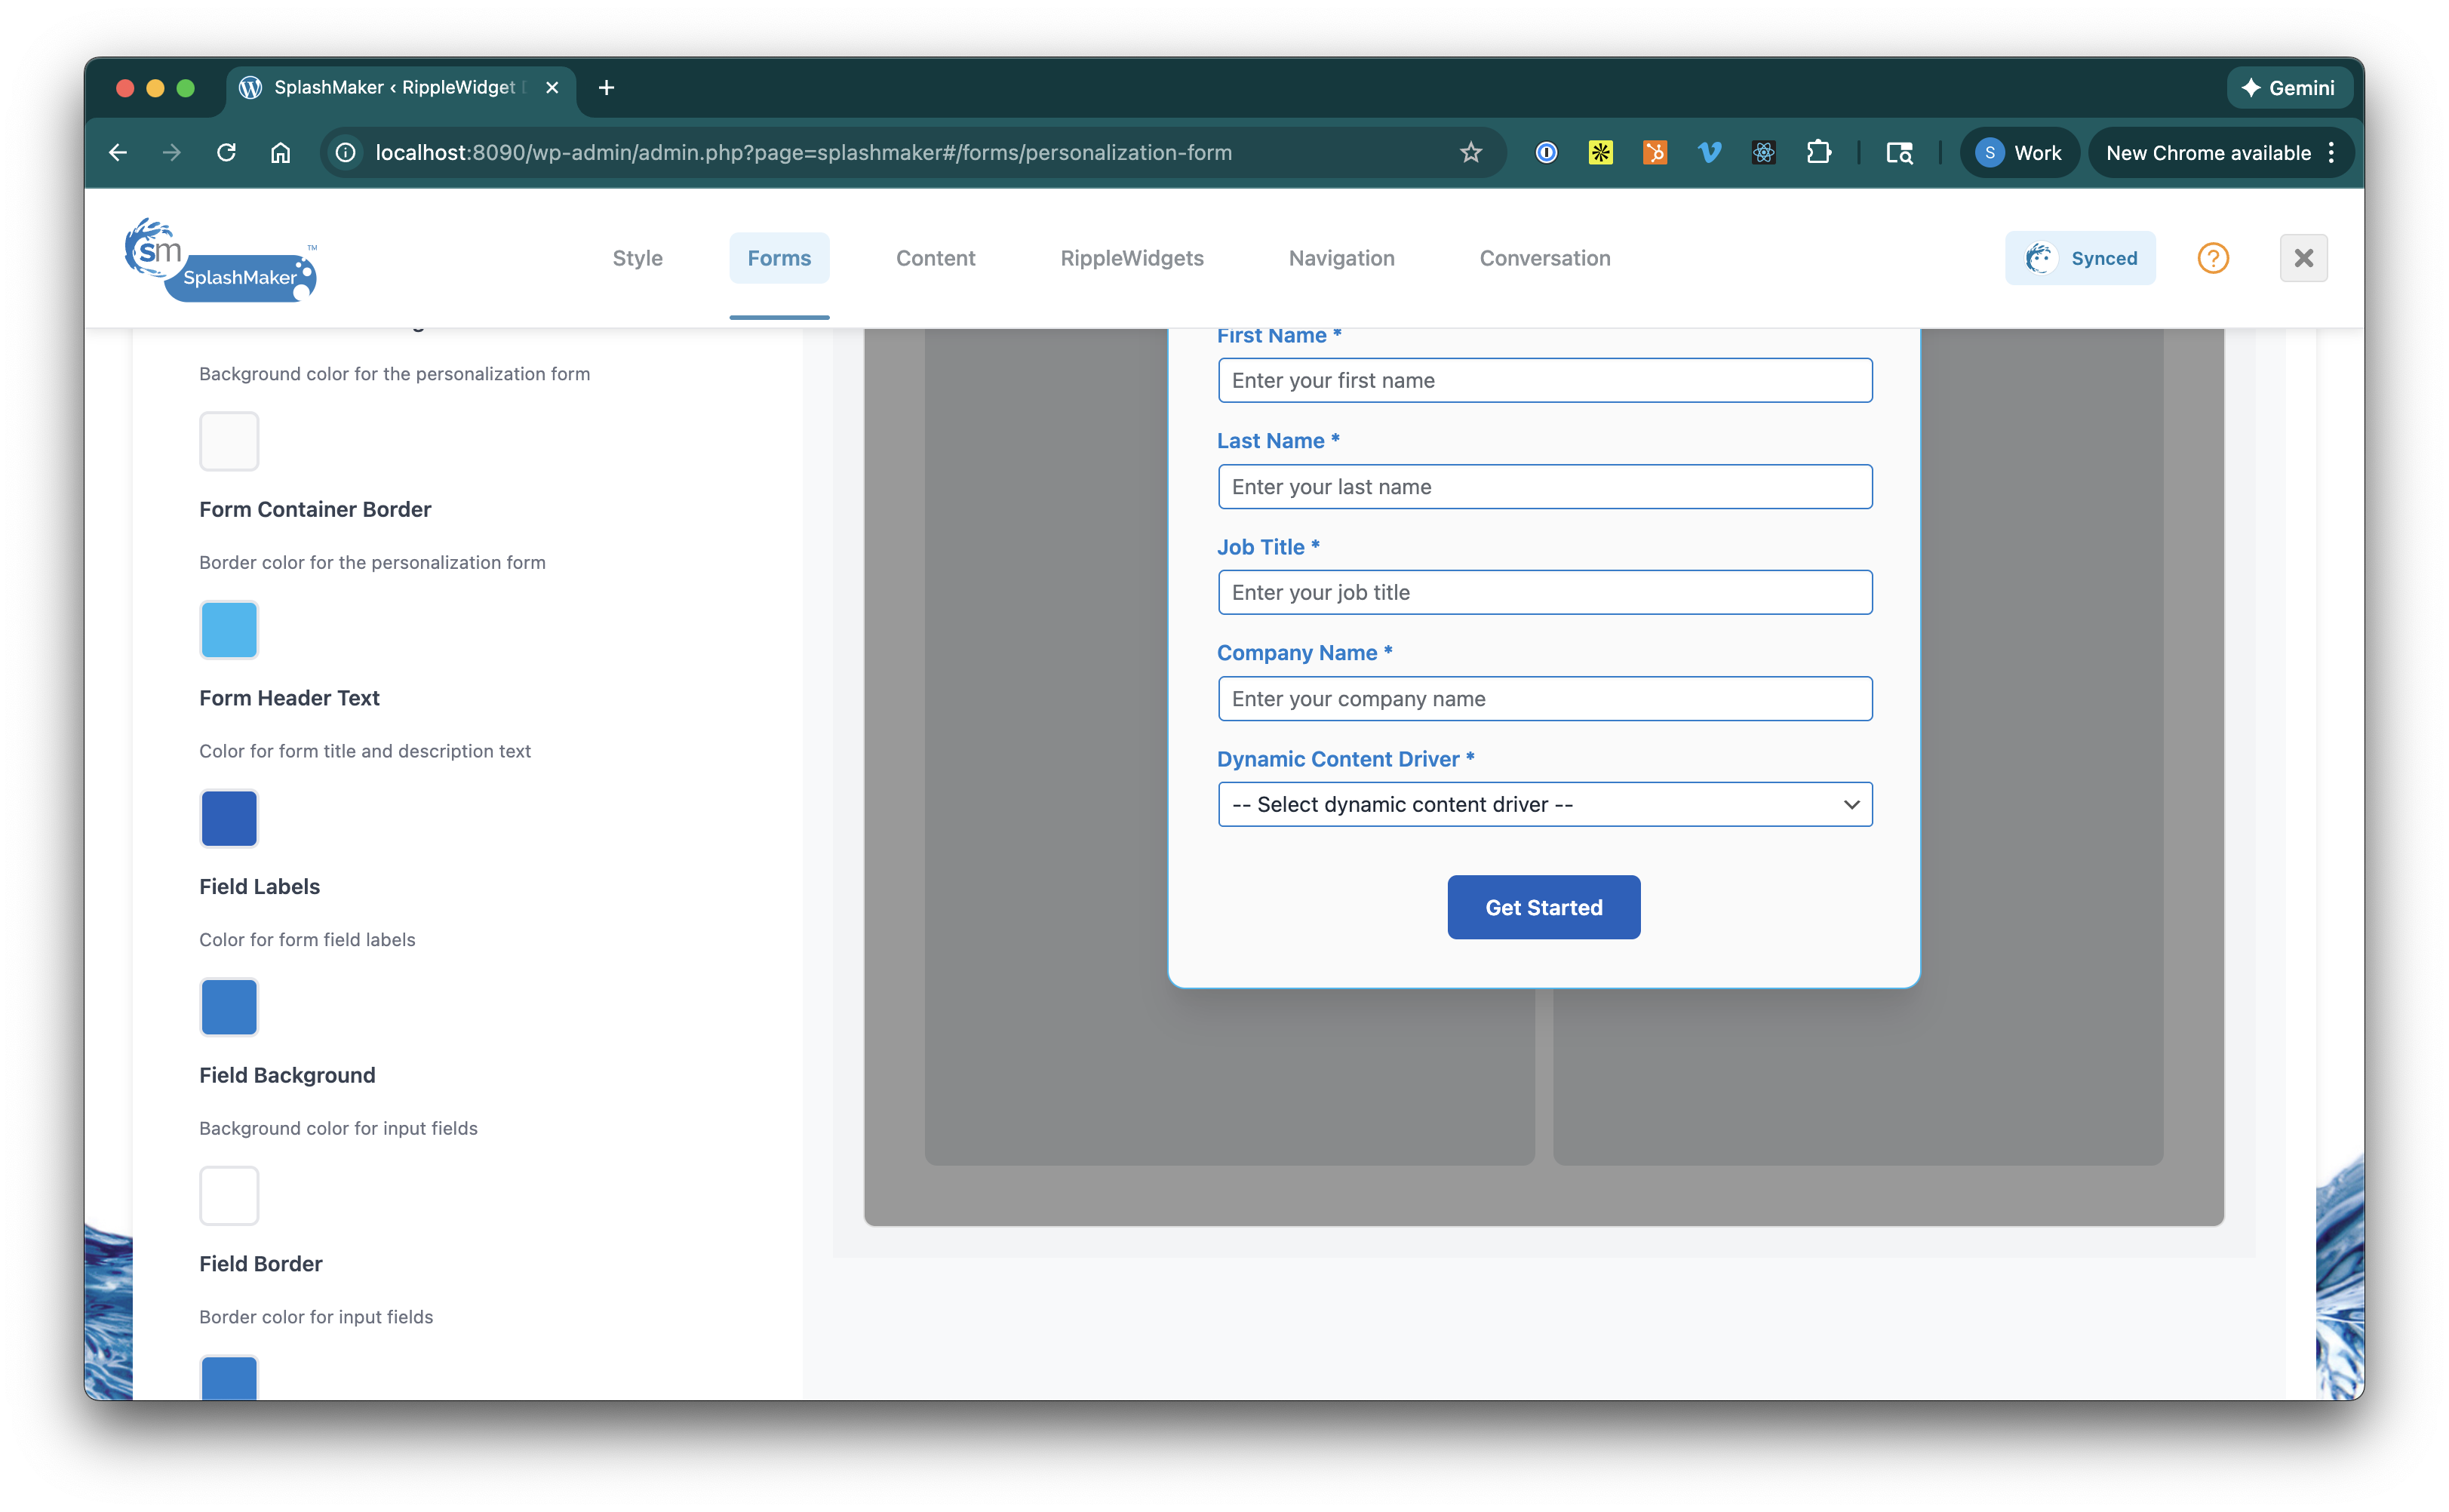
STYLE Tab
This tab is available on all SplashMaker components so that you have full control over the colors, etc. of the component…
You’ll notice that your Brand Theme that was built on sync is already in place for you. This provides you a first pass at styling for all these auto-built components in SplashMaker. But, you can also make whatever changes you’d like to each component color swatch and those changes will be saved automatically….
Sharing Form
When To Enable This
The Share Form is only available in our Premium Package. It allows your Buyers to share the journey with colleagues by providing their information – which is pushed into your CRM. Then a custom email can be sent to that colleague to link them into the journey as well.
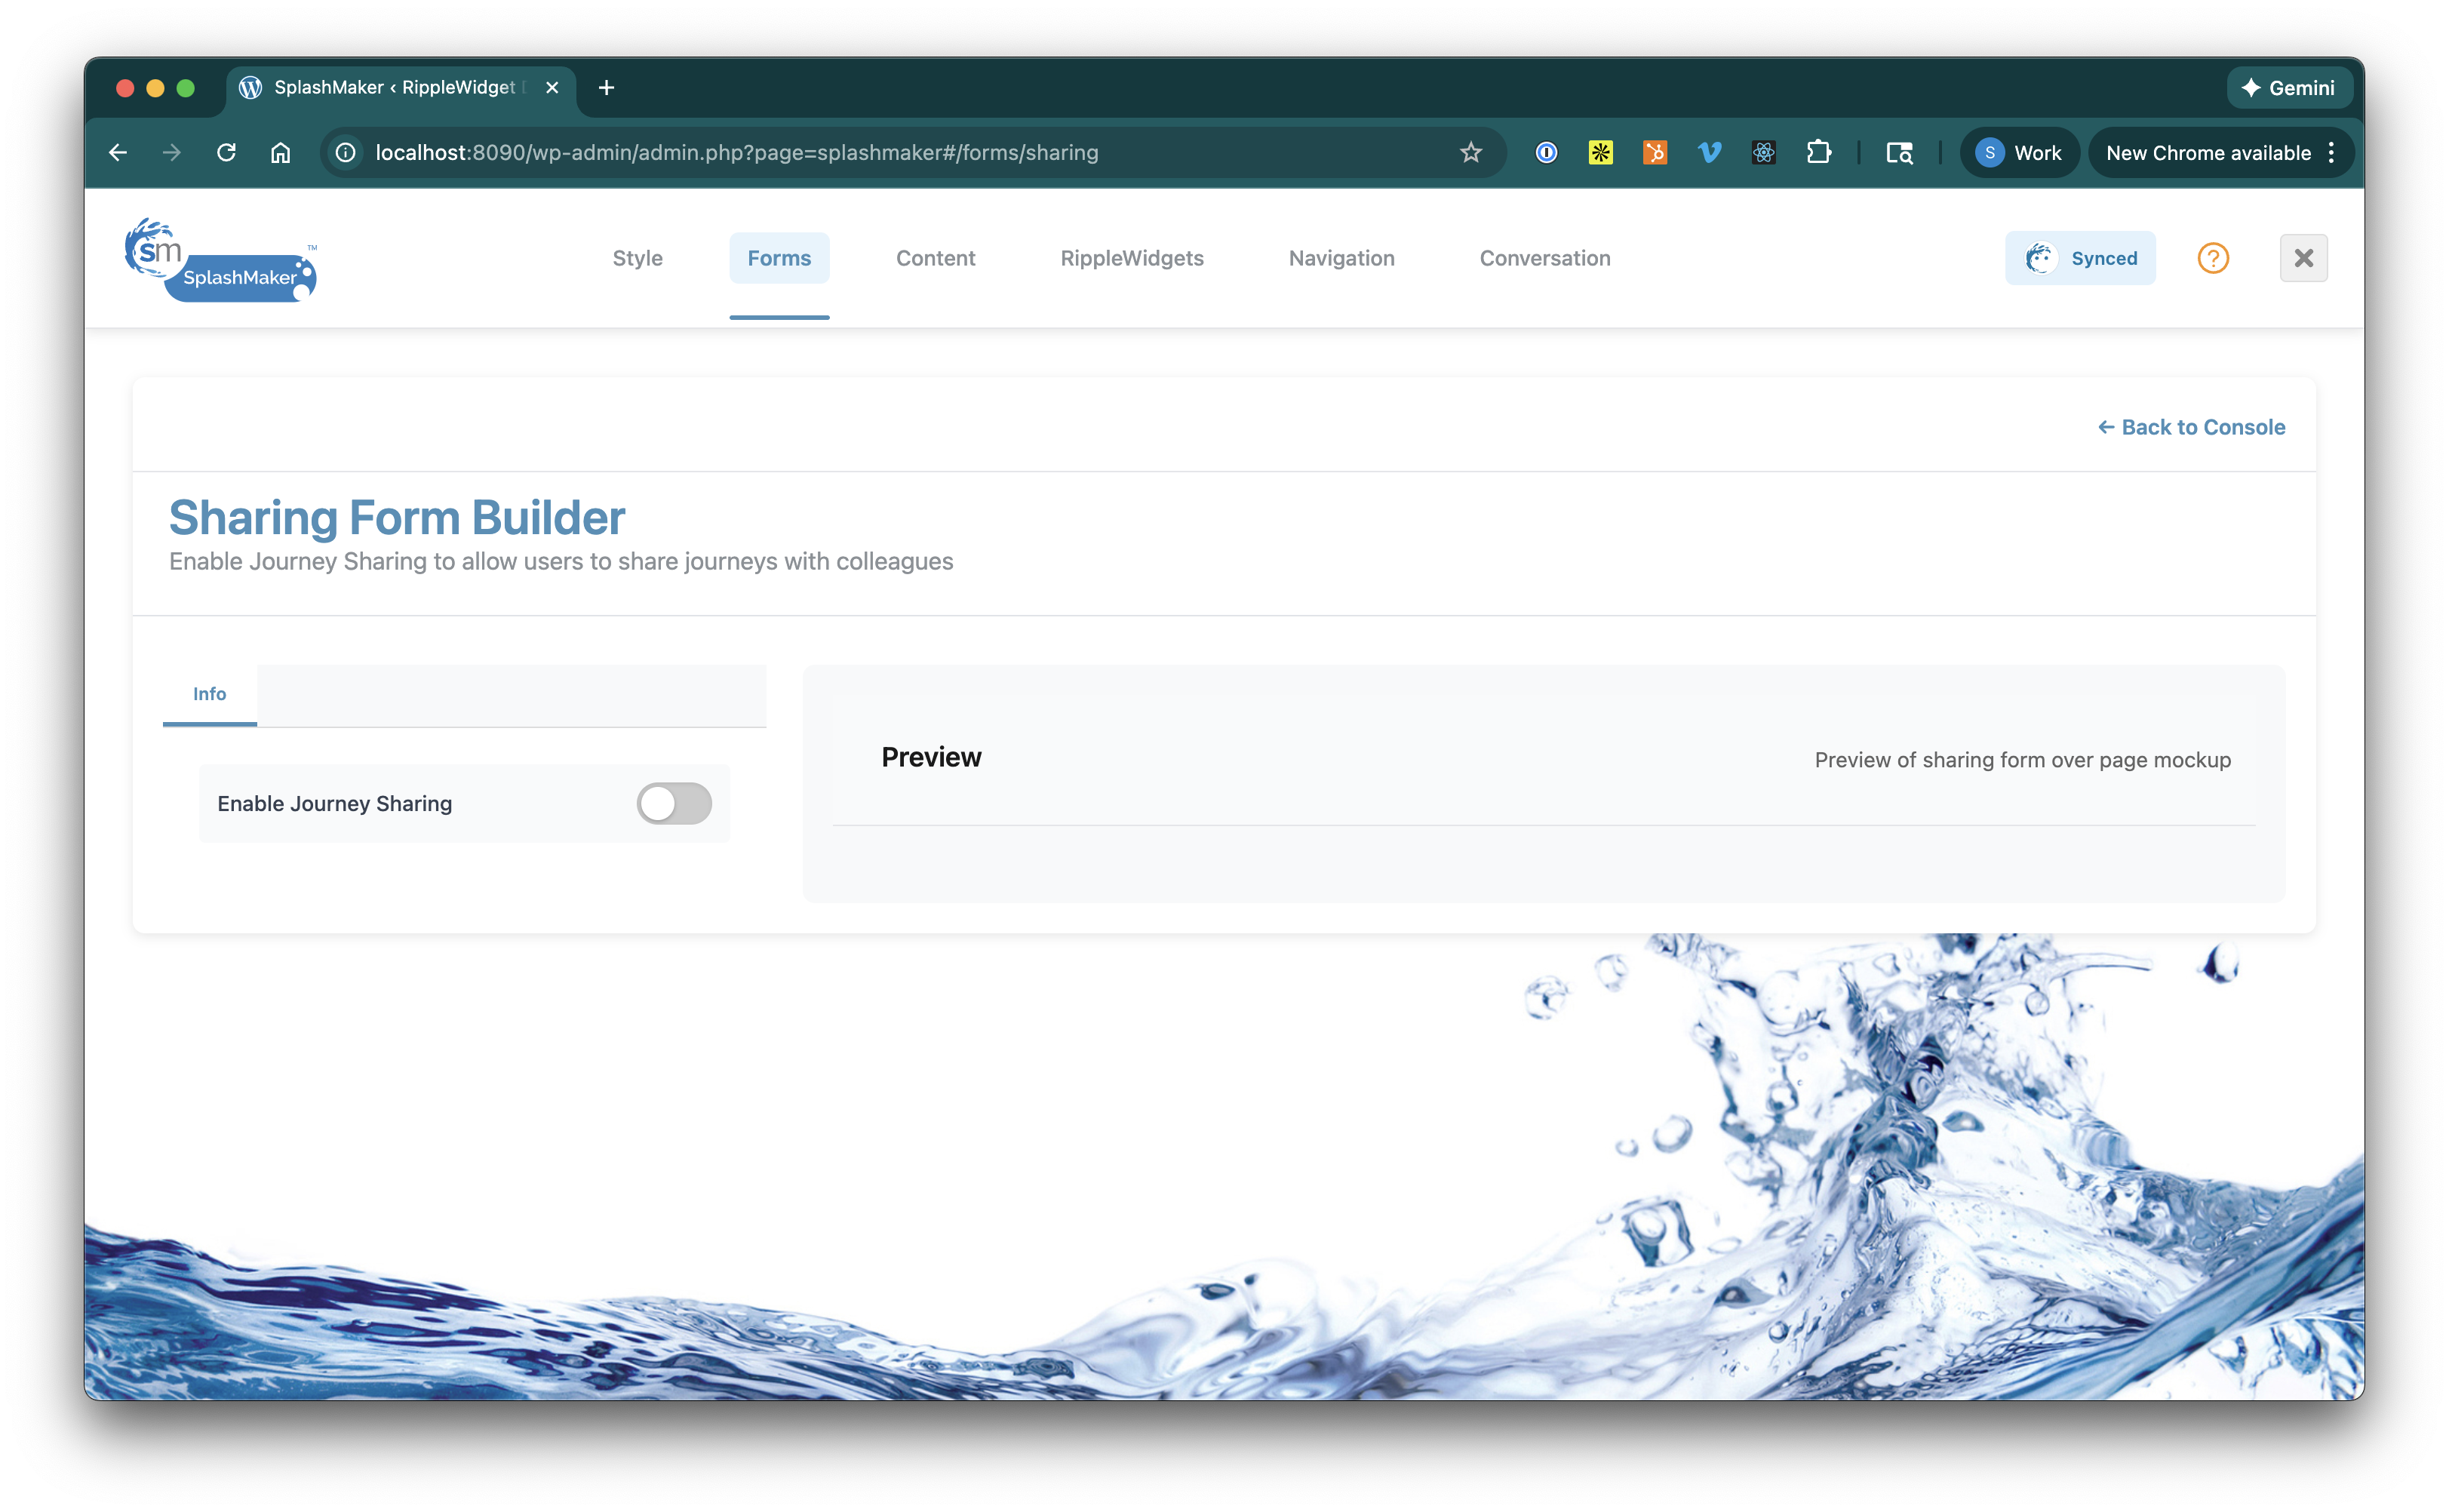
Enable Journey Sharing to get started. You’ll see the form itself and the same three tabs as the Personalization Form above…
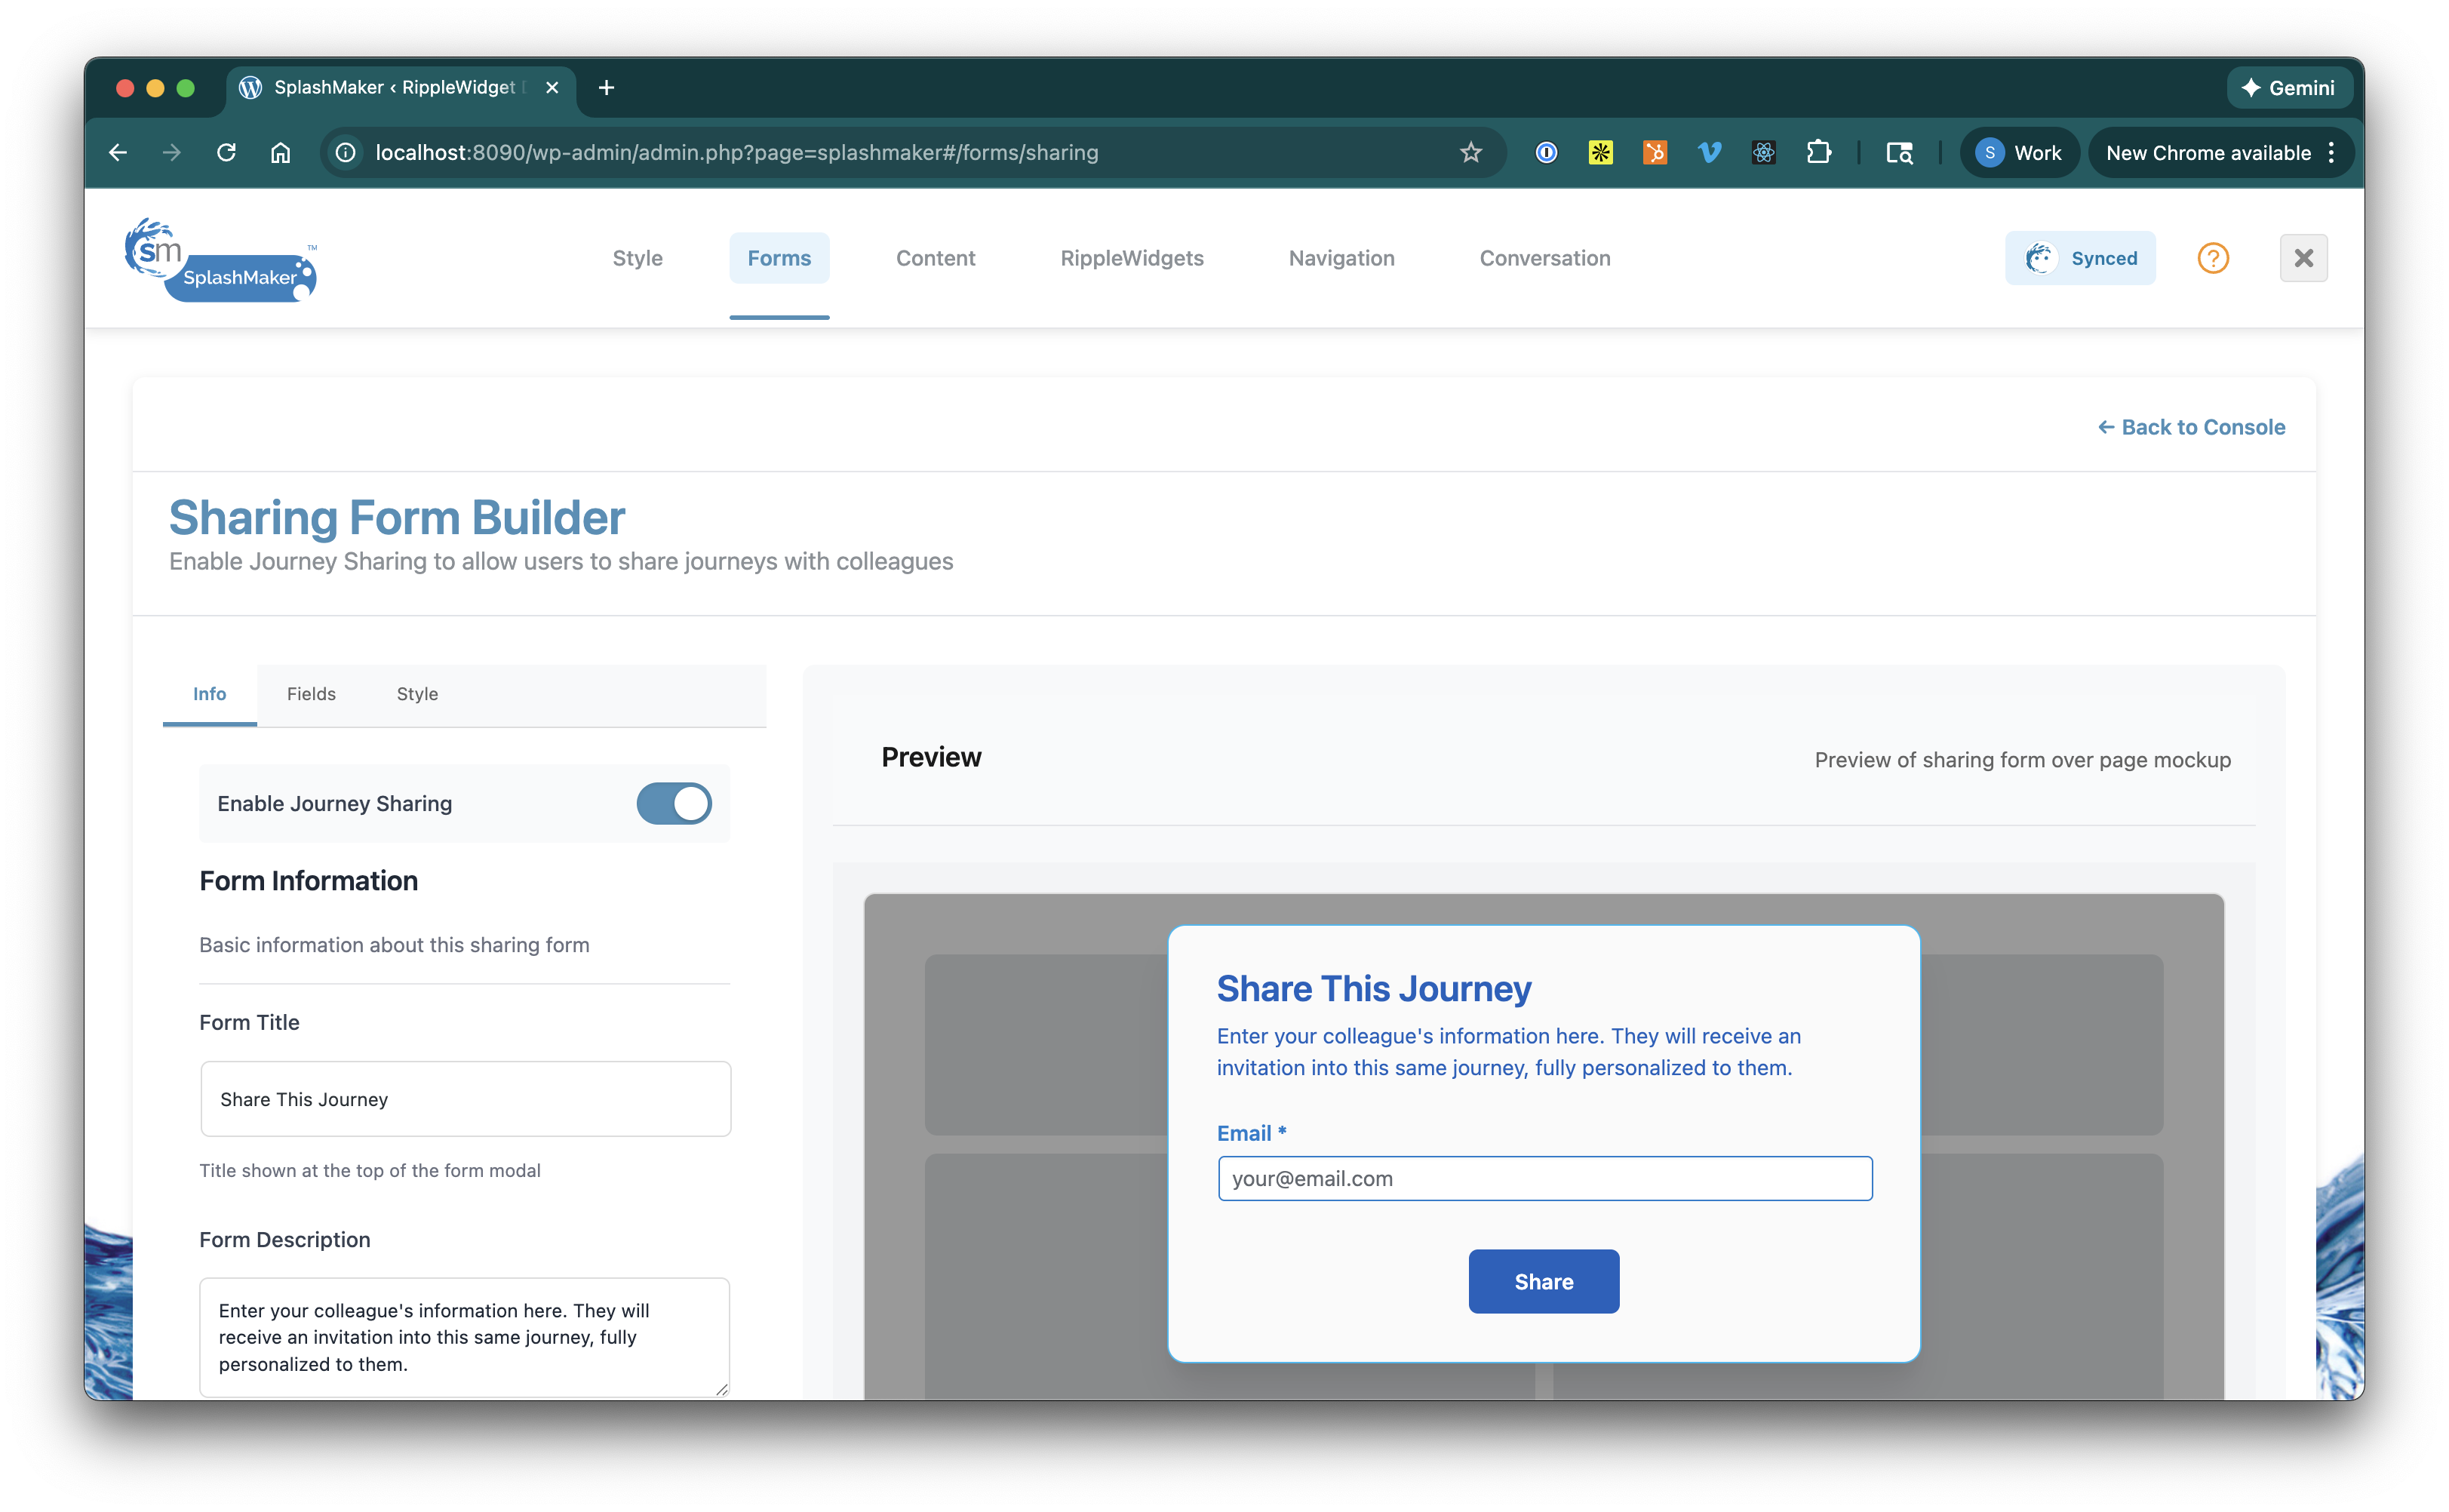
Info Tab
This is mostly the same information as the Personalization Form…
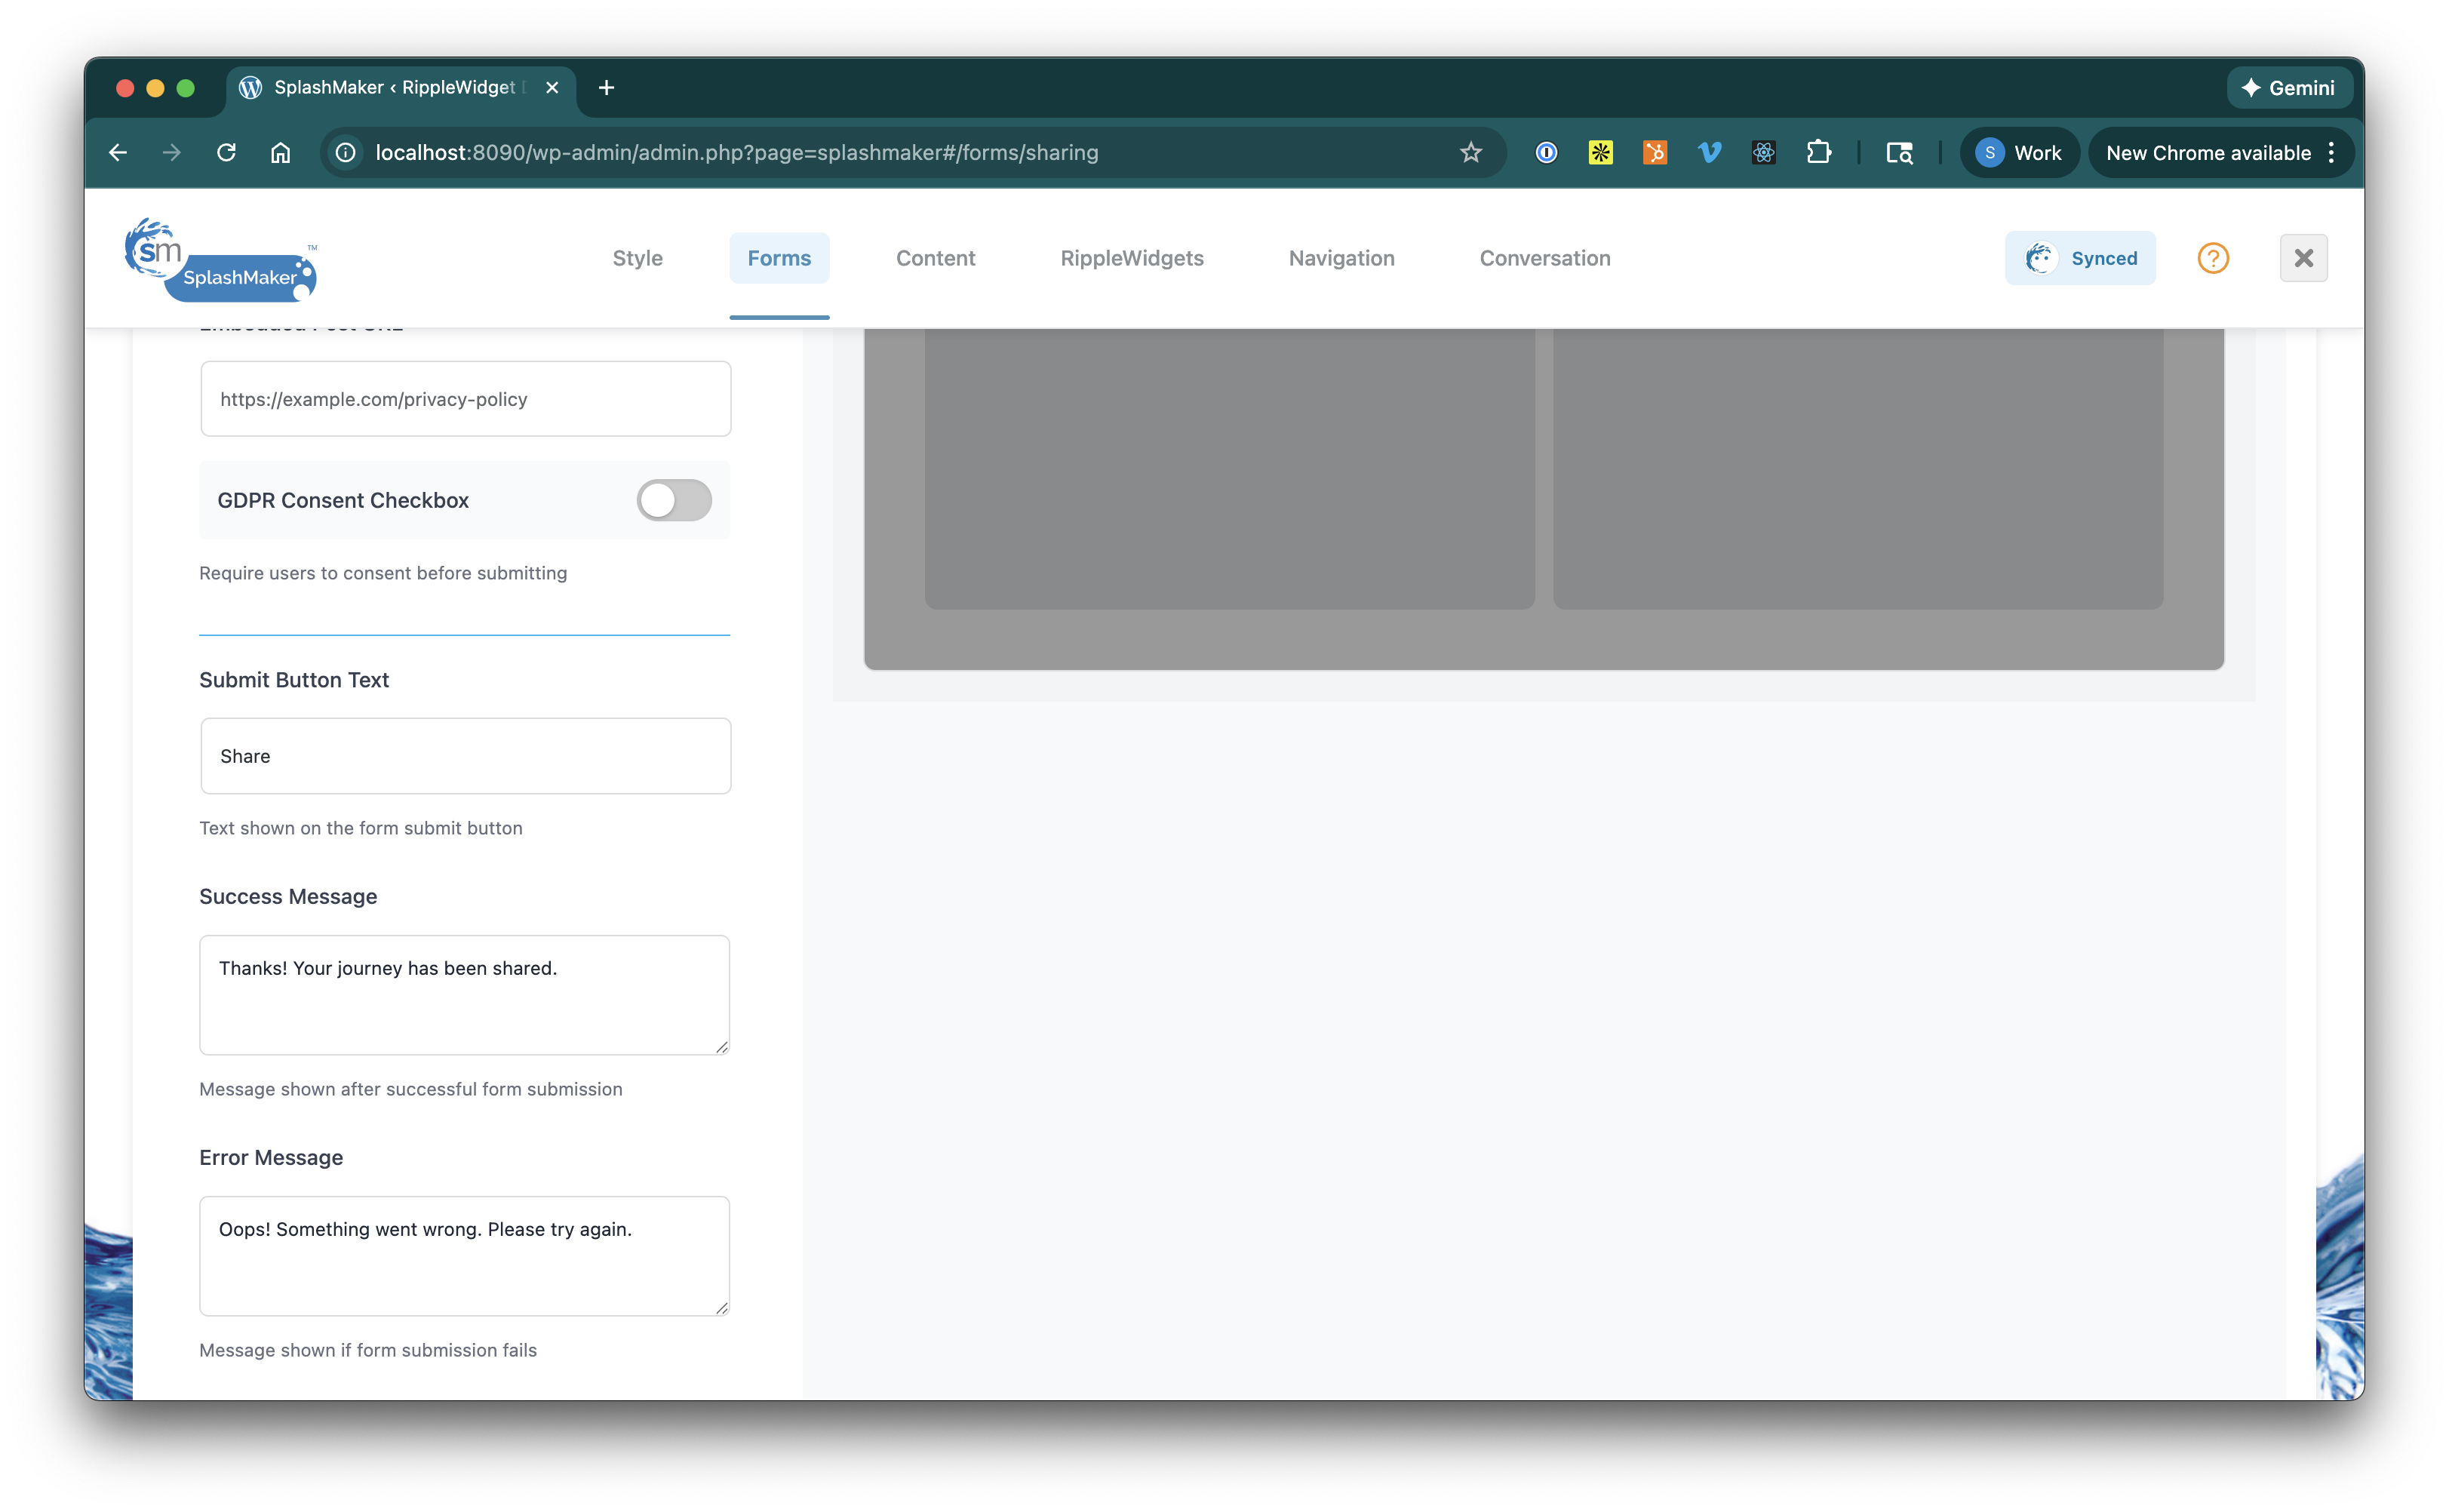
A critical difference is that you also see messaging for Success and Errors regarding the submitted information going through to the CRM.
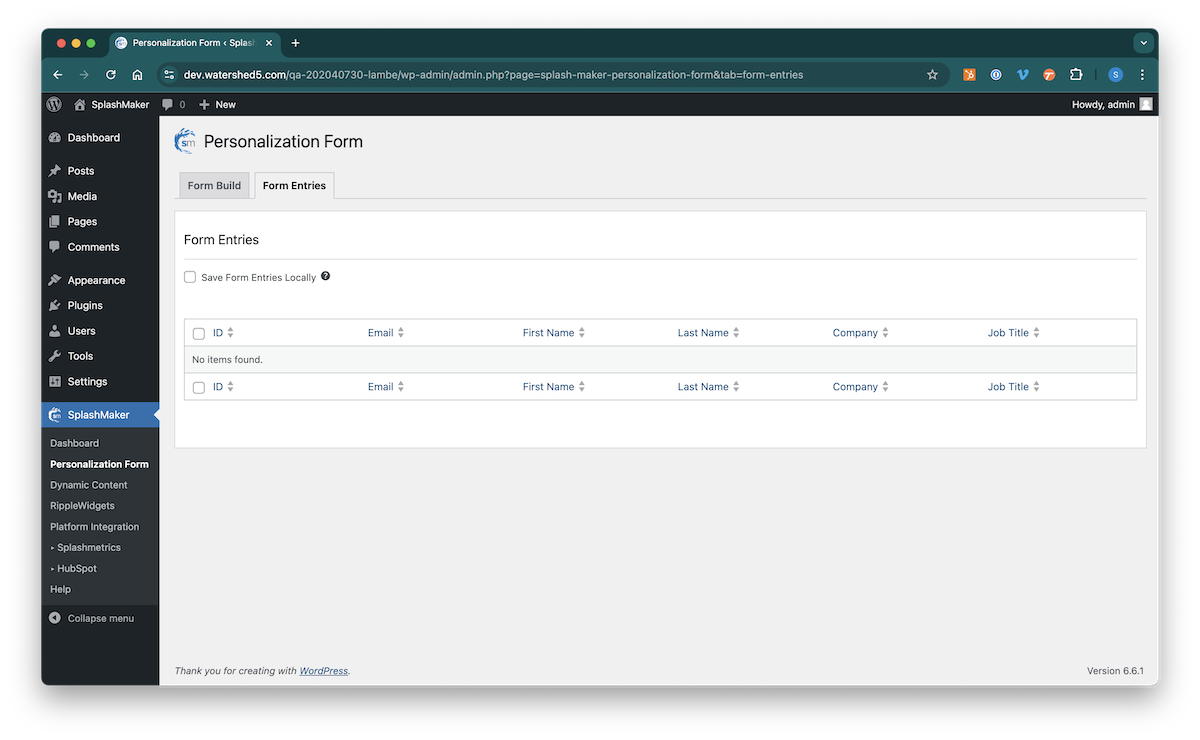
FIELDS Tab
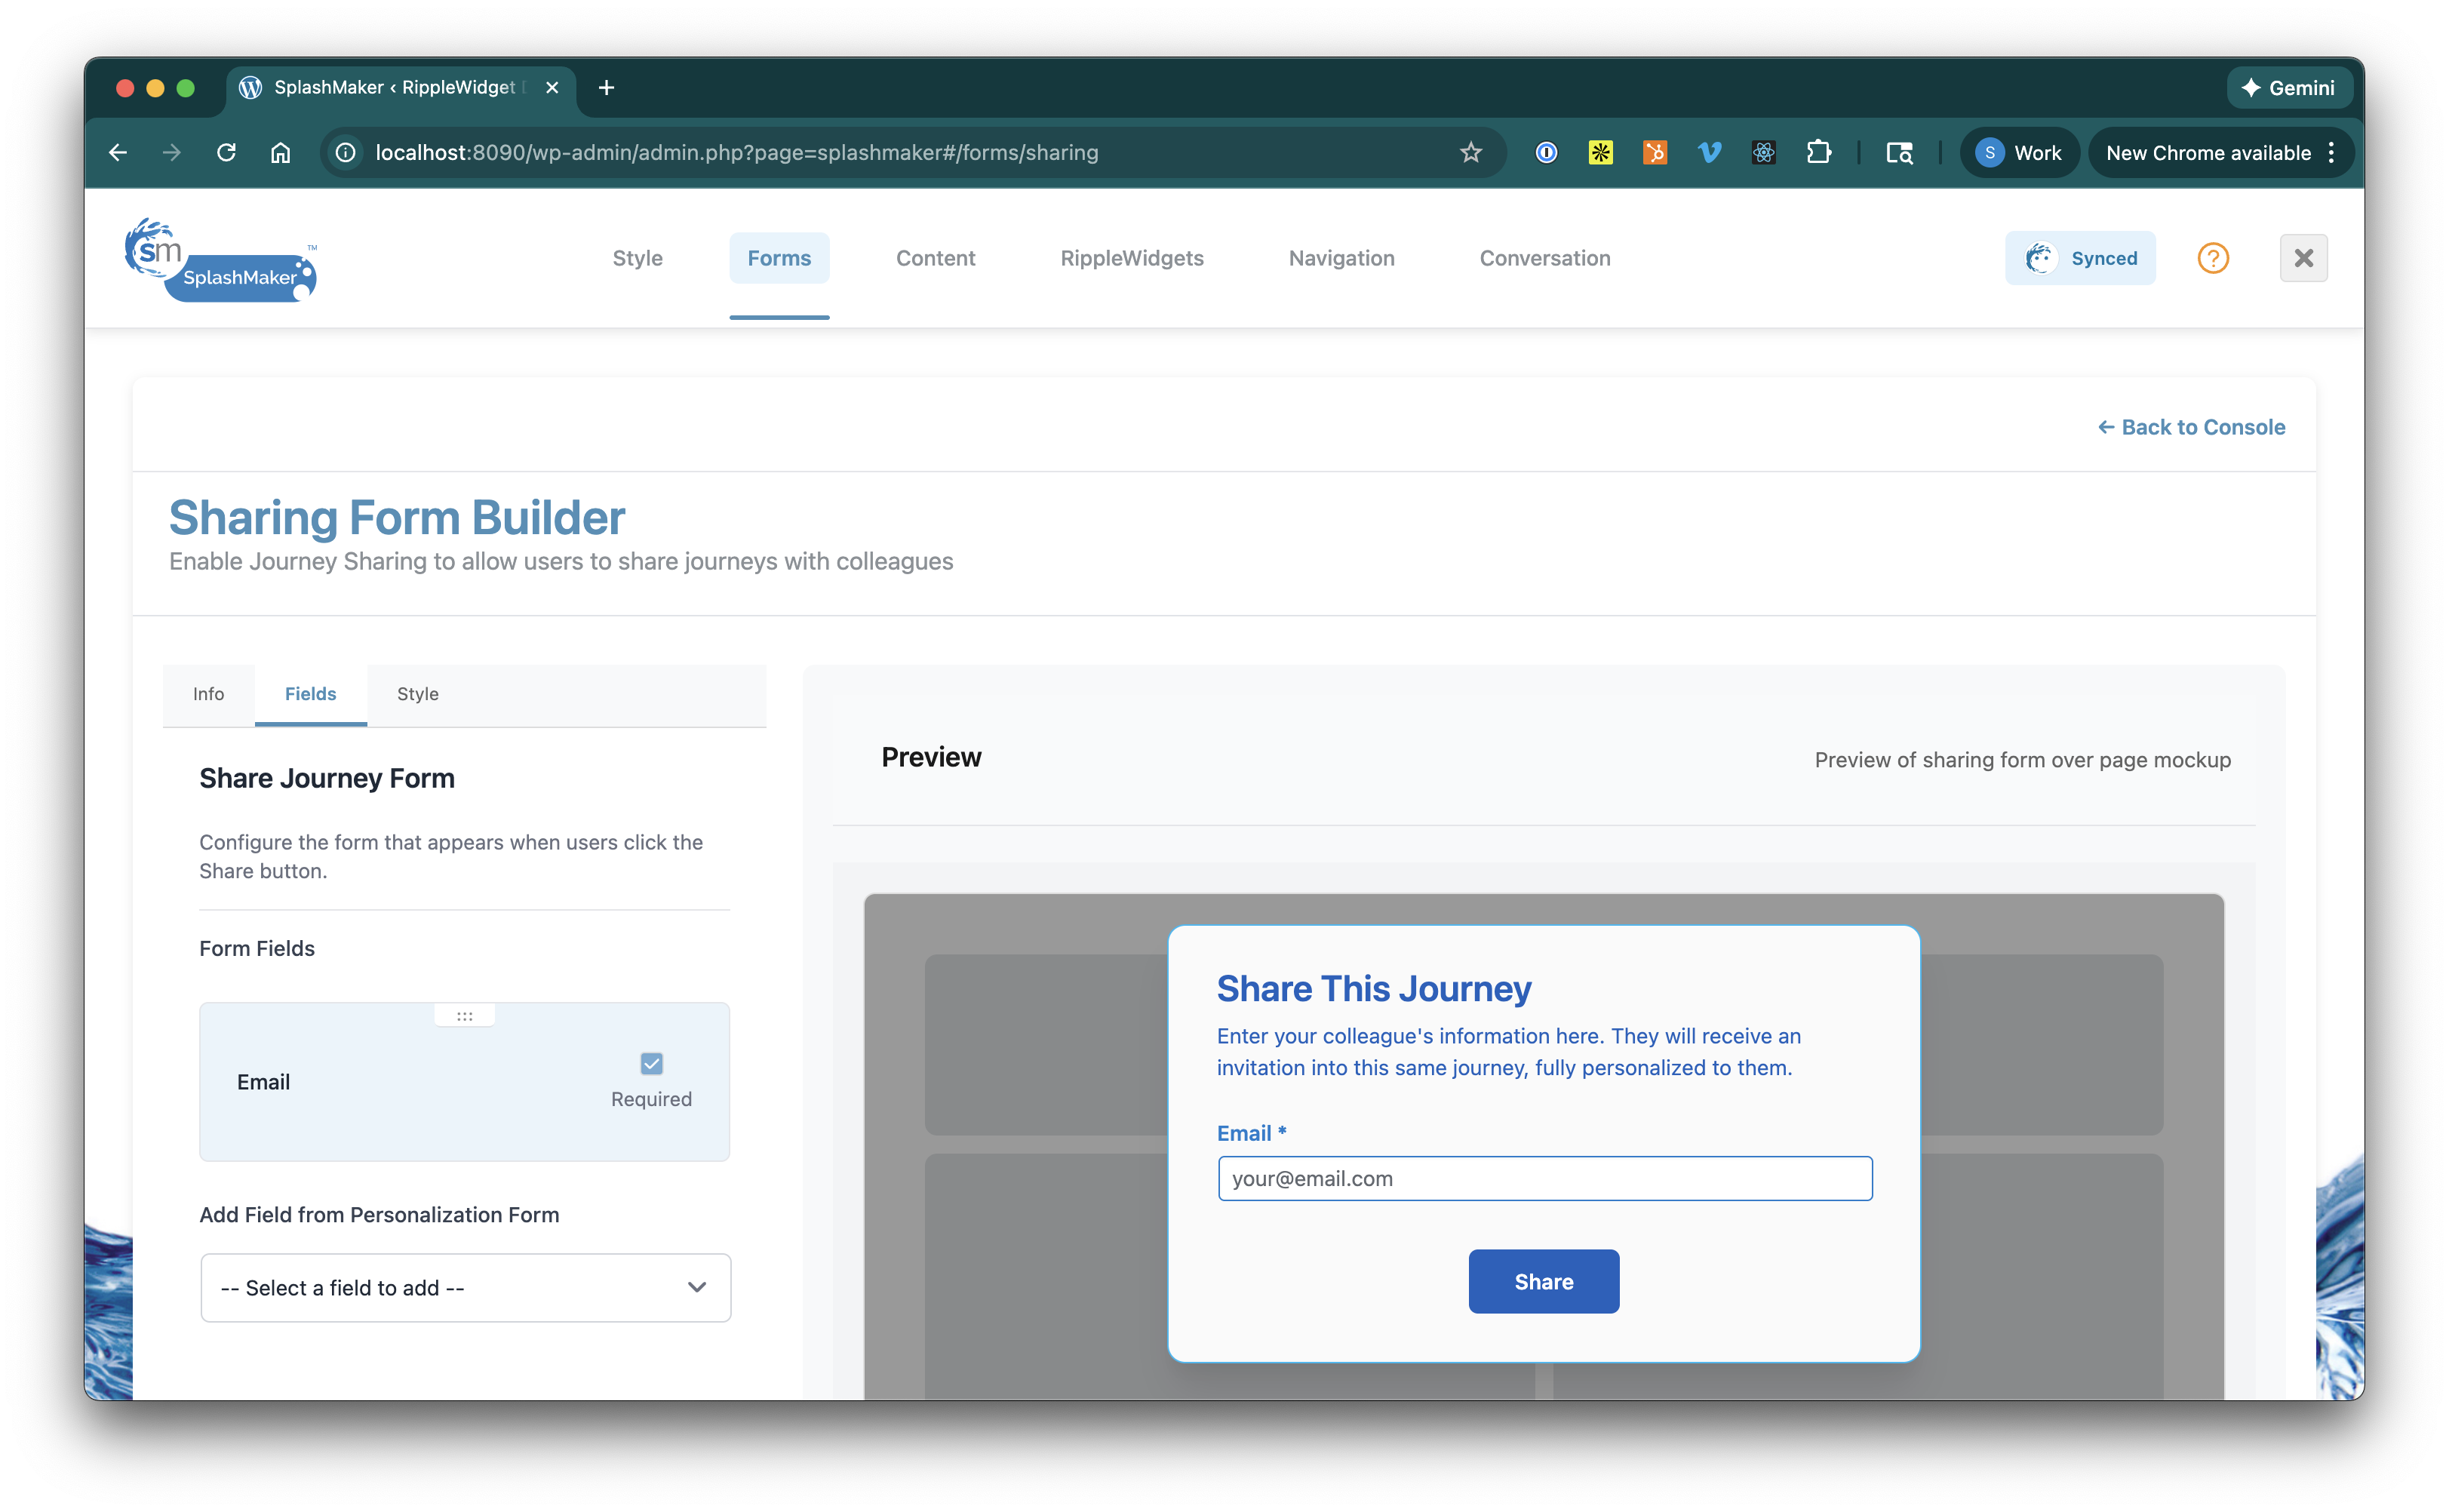
This is generally the same structure as the Personalization Form above. You MUST have an email in order to create a contact in the CRM. So that’s required. Then you can choose to add any other fields you see fit to the form.
STYLE Tab
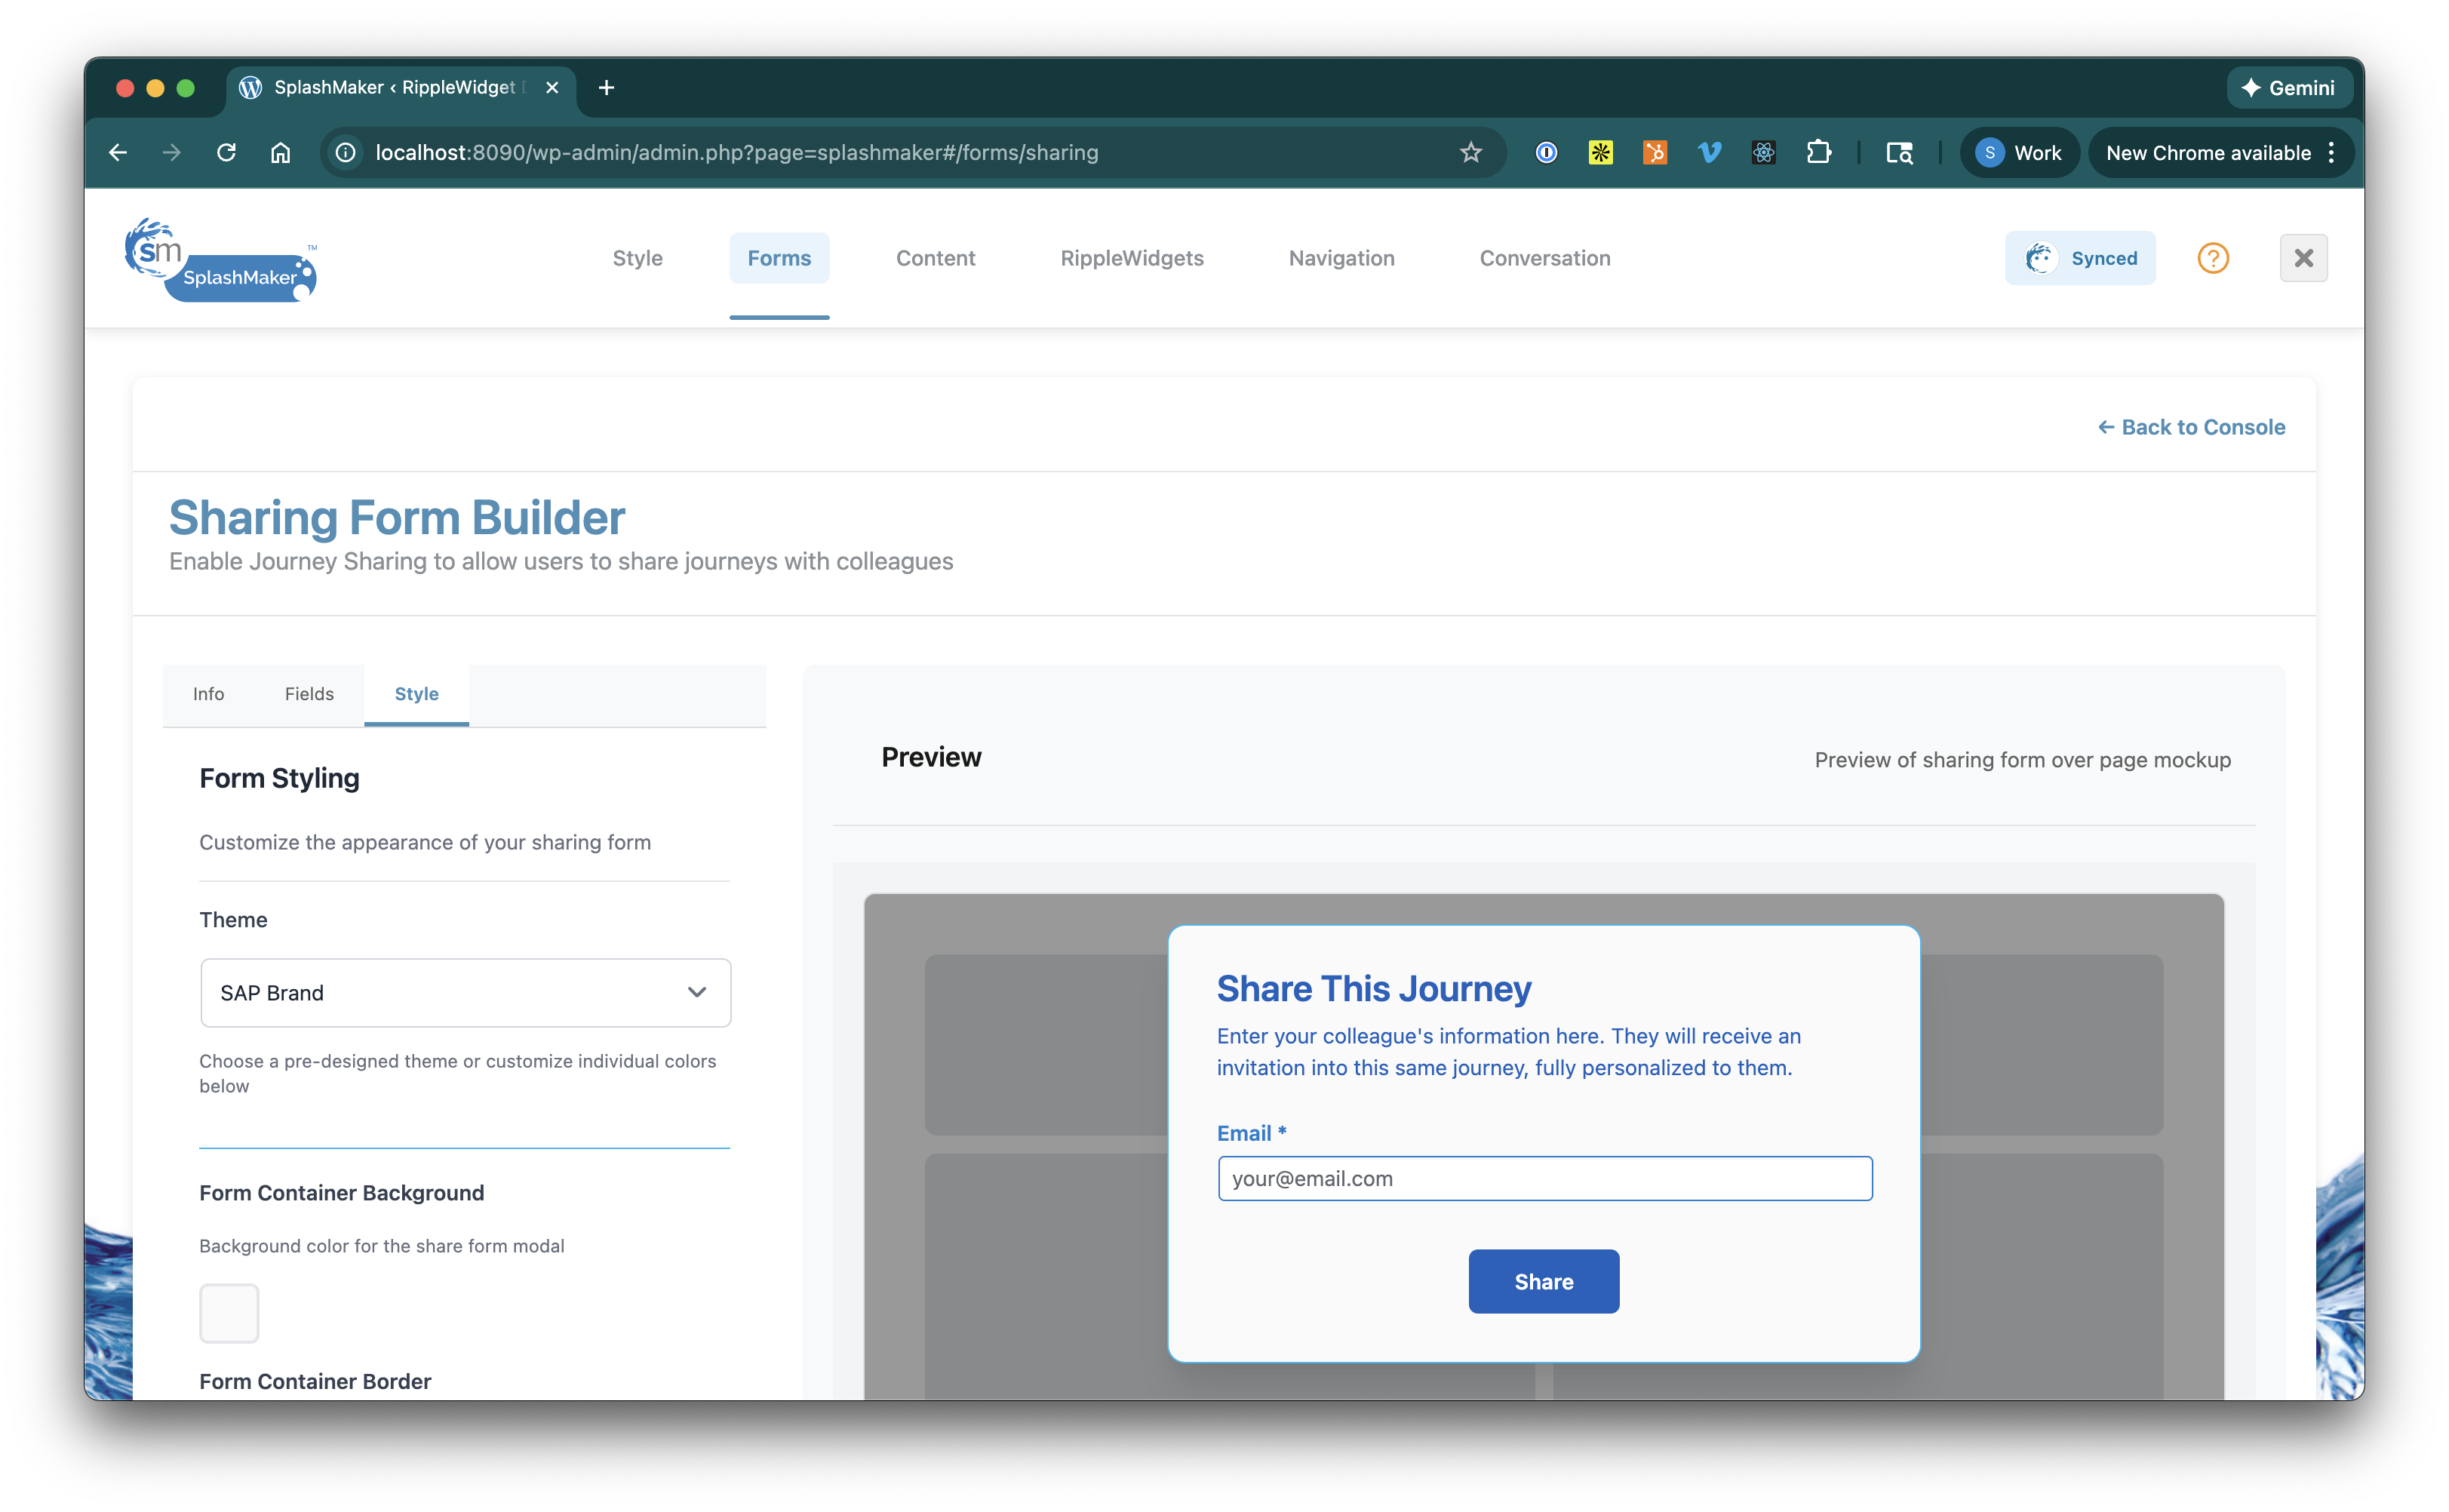
This tab has the same general information as the Personalization tab and is already styled for you with your Brand Theme. As mentioned above, you can make whatever changes you see fit for those colors, etc.
All changes to this form are automatically saved. And the form is also automatically attached to every Dynamic Content Weblet that is built.
Formless & Cookieless Content Experiences
One of the most powerful aspects of SplashMaker, available in all packages, is that if you already have the form information for known Buyers in a platform like HubSpot or Pardot (e.g. – an ABM effort), they can completely bypass this form and go directly into the fully personalized experience. Furthermore, those known Buyers – as well as those new Buyers who do fill in this first form – can then move to successive SplashMaker personalized content experiences thereafter with no other forms or cookies required.
All of our SplashMaker packages, including the Basic package, have this capability built in. The way you leverage it is a bit different between packages.
Our premium packages automate this entire process for the specific MA/CRM platform with which you have integrated via the Smart CTAs component. But let’s take a look at the various parts involved and how you can do it manually if you’re not using our premium packages.
Obviously, each of these MA/CRM platforms will have slightly different syntax for the SmartCTA tokenized link, but it’s actually pretty straightforward. Here is an example link that you would use in HubSpot:
https://smartdocs.xyz.com/ebooks?email={{contact.email}}&firstname={{contact.firstname}}&lastname={{contact.lastname}}&company={{contact.company}}&jobtitle={{contact.jobtitle}}&your_role={{contact.hs_buying_role}}The items on the left side of the = signs, such as “email”, “company”, and “jobtitle” relate to what you see in the Fields/Labels (all lower-case and no spaces) of your Personalization Form. This link also needs to include the Dynamic Content Driver option from the form to serve up the right content for the user. In this case that’s the “your_role” item. Yours will likely be different. So make sure all the fields in your Personalization Form are covered in this link.
The {{…}} items on the right side of the = signs are the correlating personalization tokens from, in this case, HubSpot – such as jobtitle={contact.jobtitle}. Again, just make sure you have all the field items mapped to a correlating token in HubSpot.
When this link is used within HubSpot on a text link or button in an email or on a landing page, as long as all the information is there within HubSpot the Buyer completely bypasses the form but still gets the fully personalized experience.
Pardot and Marketo work much the same way, they just have their own token syntax for the {…} tokens. Just look up that info and give it a try!
Finally, if any information specified in the Personalization Form is missing for the Buyer in the MA/CRM package, SplashMaker will automatically send them to the form page with all the known information already filled in. They just have to provide the missing {…} field(s) – and they can continue their seamless, formless SplashMaker journey from there.
For more details on how the Personalization Form item works with MA/CRM integrations, select your integration: Splashmetrics, HubSpot.
All blue fields in the SplashMaker UI are auto-generated, auto-copy items. Just click in the field to copy its contents to your clipboard for use in other areas of your Smart Content, etc.