
How Can We Help?
SplashMaker : Connect & Sync
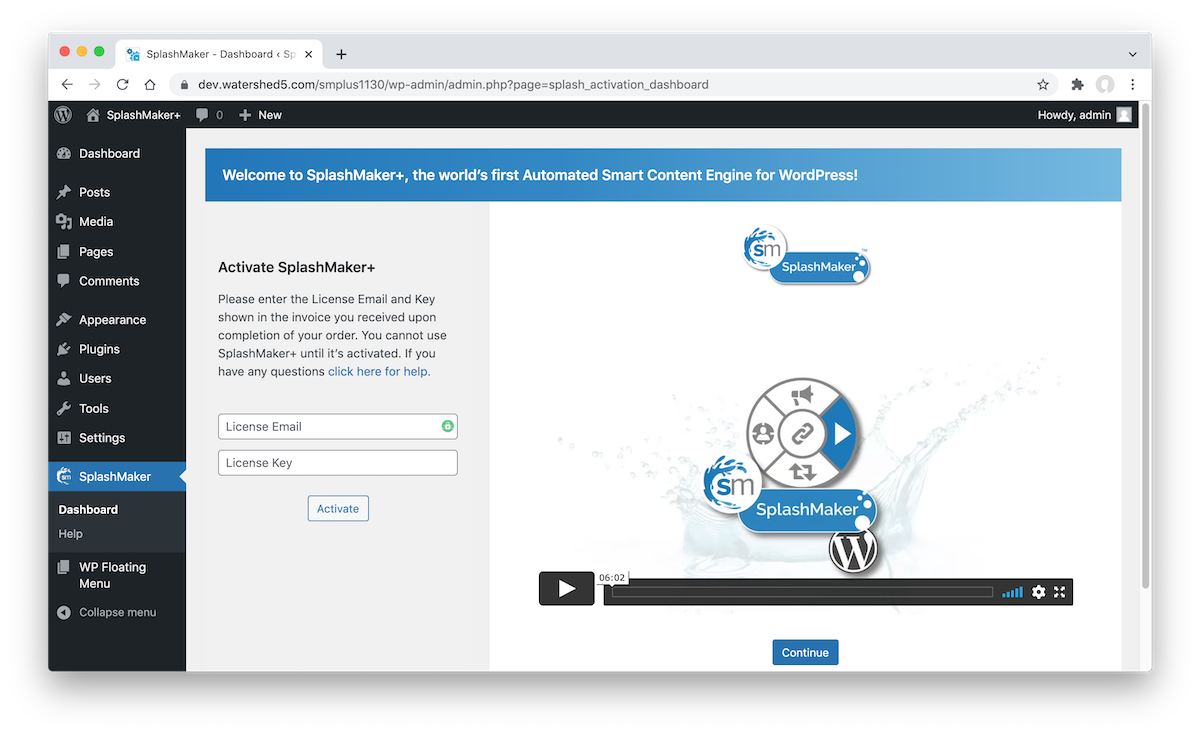
SplashMaker Installation
Note: Our Splashmetrics packages include hosting and set-up for your SplashMaker weblets. So we take care of all that for you.
The only thing you need to do is connect your SplashMaker installation to Splashmetrics as described below.
Connection
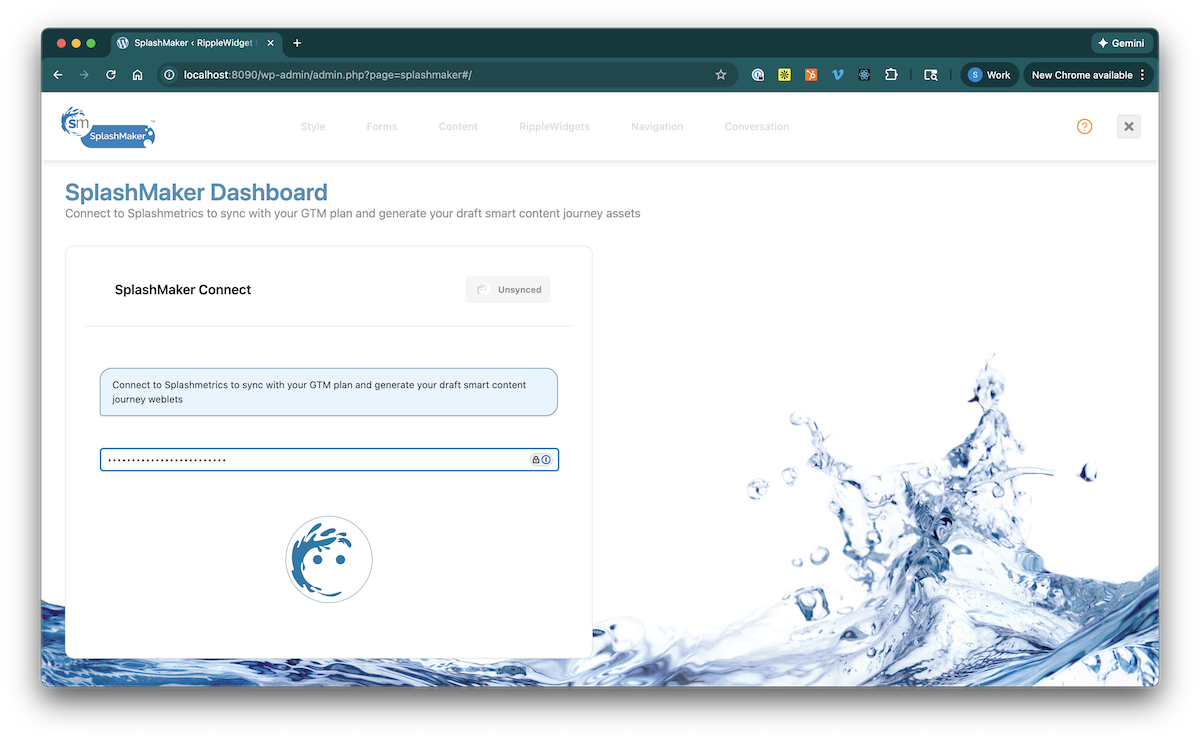
Now it’s time to connect your SplashMaker+ package to Splashmetrics and sync with your Splash plan.
- First, in Splashmetrics you’ll find your API key in the Admin section…

- Copy that key into the field on your dashboard page and hit enter.
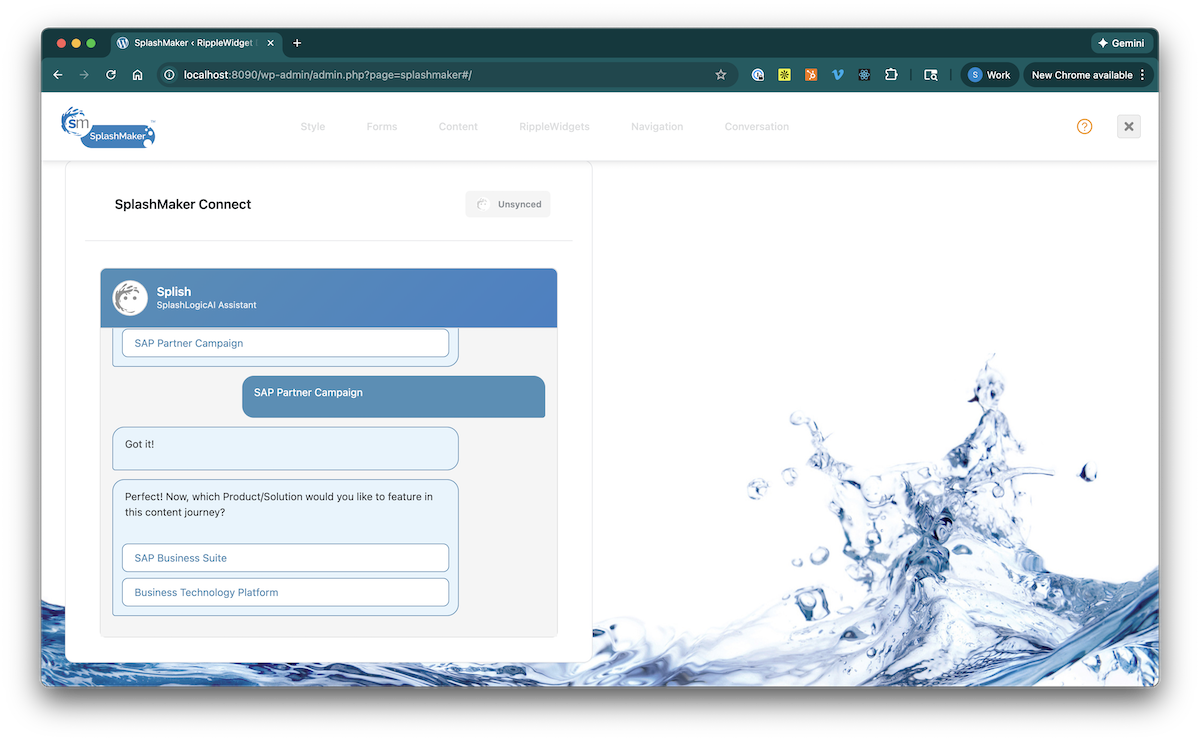
- You’ll be presented a chat box where Splish will ask you a couple of questions regarding your Splash account. Just select the appropriate Splash and Product/Solution to continue…
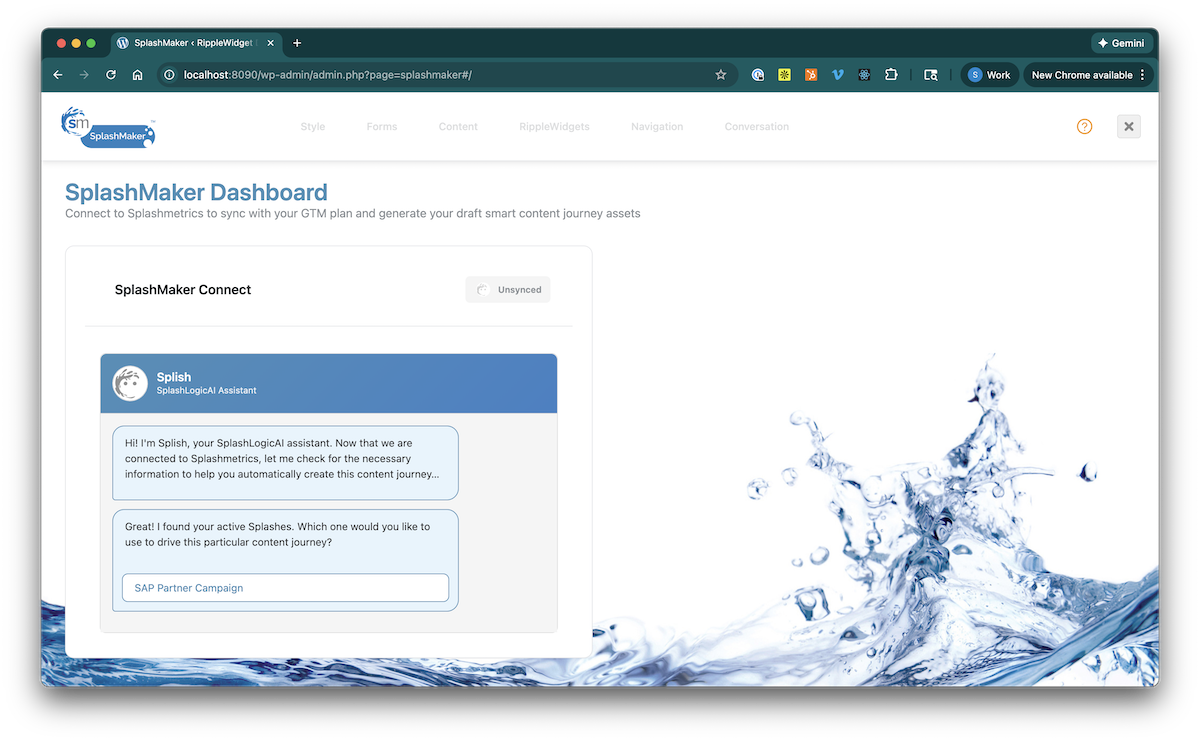
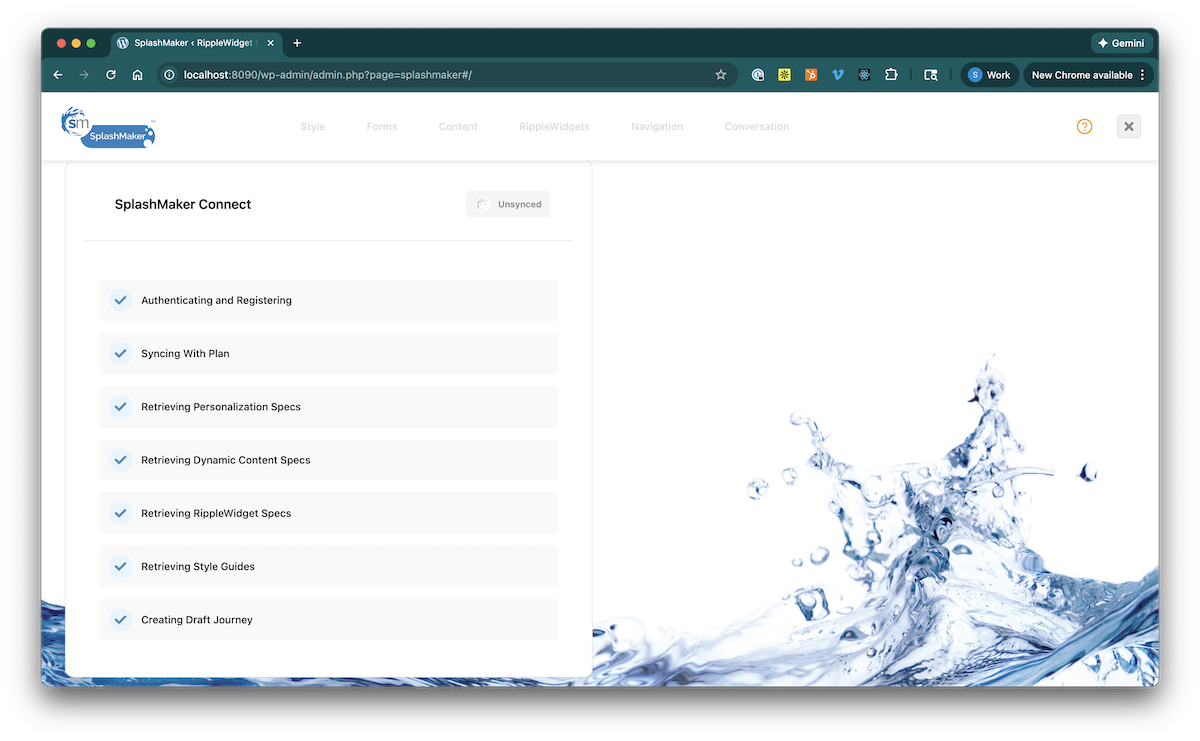
- Splish will then run through all the sync data to set up SplashMaker based on the information in your selected Splash.
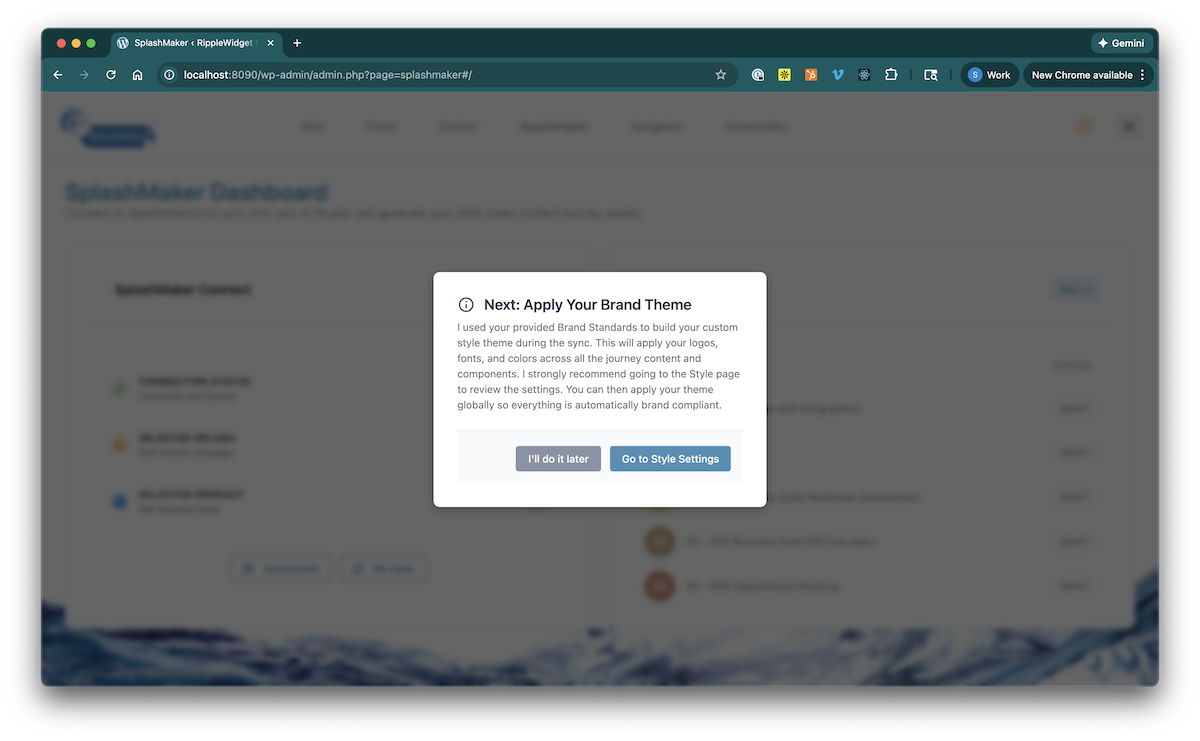
- When the sync is completed, you’ll see a modal advising you to go ahead and apply the brand theme that SplashLogicAI built for you. This will automatically apply logos, fonts, and colors to all the content and components in SplashMaker. You can do it later…be we think it best to do it now…
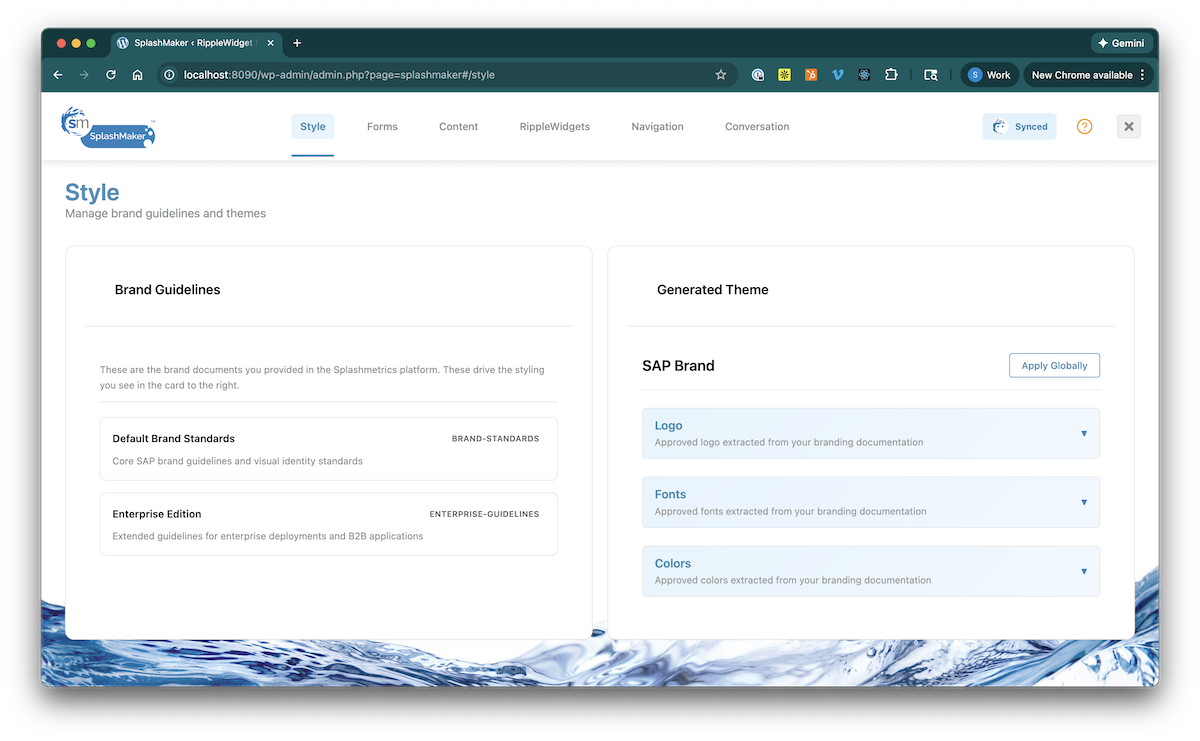
- Clicking the button will take you to the Style component where you can can check each of the style compoents then apply the Brand Theme globally when ready…
That’s it! Our SplashLogicAI has prepared all the content and components for you based on your Splash Plan. You’re ready to go!
Usage
Click here for more specifics on how to use your SplashMaker+ package.
We’re here to help!
If you run into any issues that are not covered here in LifeRing, please use the chat below – or submit a ticket and we’ll be happy to point you in the right direction!
Thanks for choosing SplashMaker!