
How Can We Help?
SmartDoc Theme : Printing to PDF

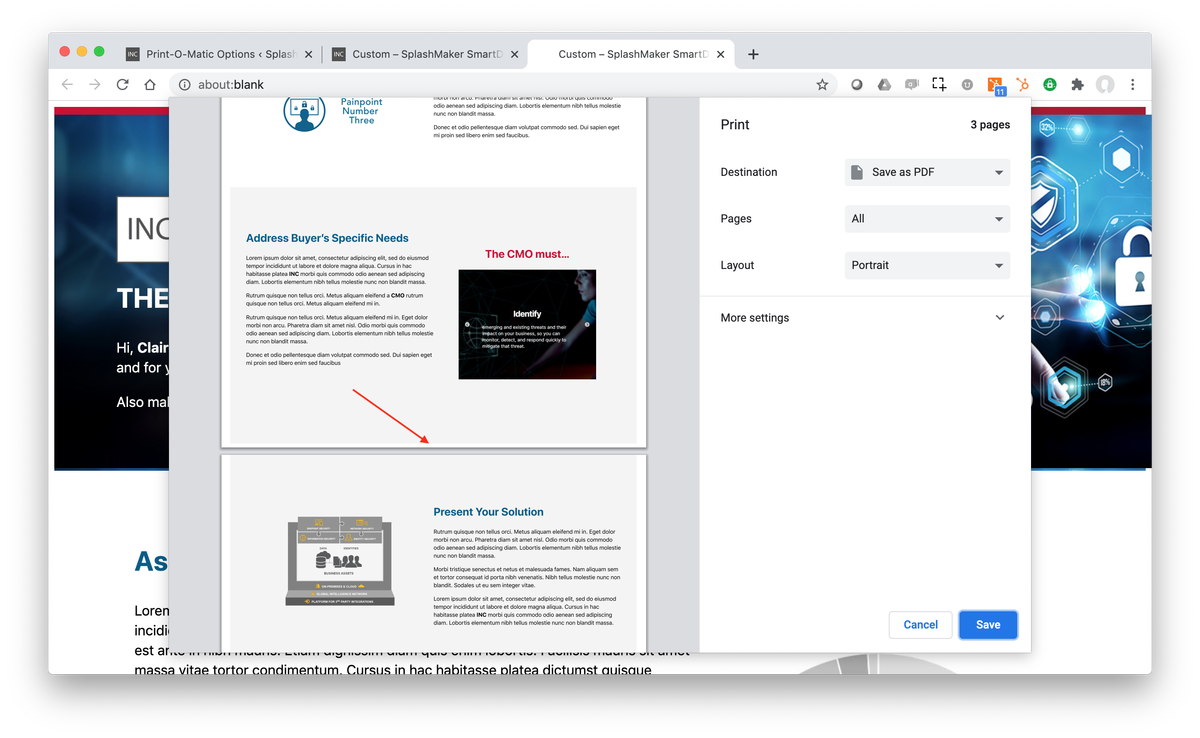
One of the most unique and valuable things about our SmartDoc Themes is that they are pre-formatted to be “printable”. In other words, what you see in the DynamicContent page can be immediately printed and/or saved to a standard, correctly paginated 8-1/2 x 11 PDF – with a single click.
Think about that – your user ends up with a convenient PDF that they can share with colleagues – but instead of a generic, one-size-fits-all document, this PDF is completely customized to them and their company. Moreover, the CTA link at the bottom of the document still has the personalization token embedded so they can continue their seamless Buyer Journey even from this PDF!
How does it work?
We’ve built custom print CSS with our SmartDocs for this capability. Everything is already set up for you in the content so that the print functionality works for the user via the “Save your personalized document…” text link at the bottom of the SmartDoc…
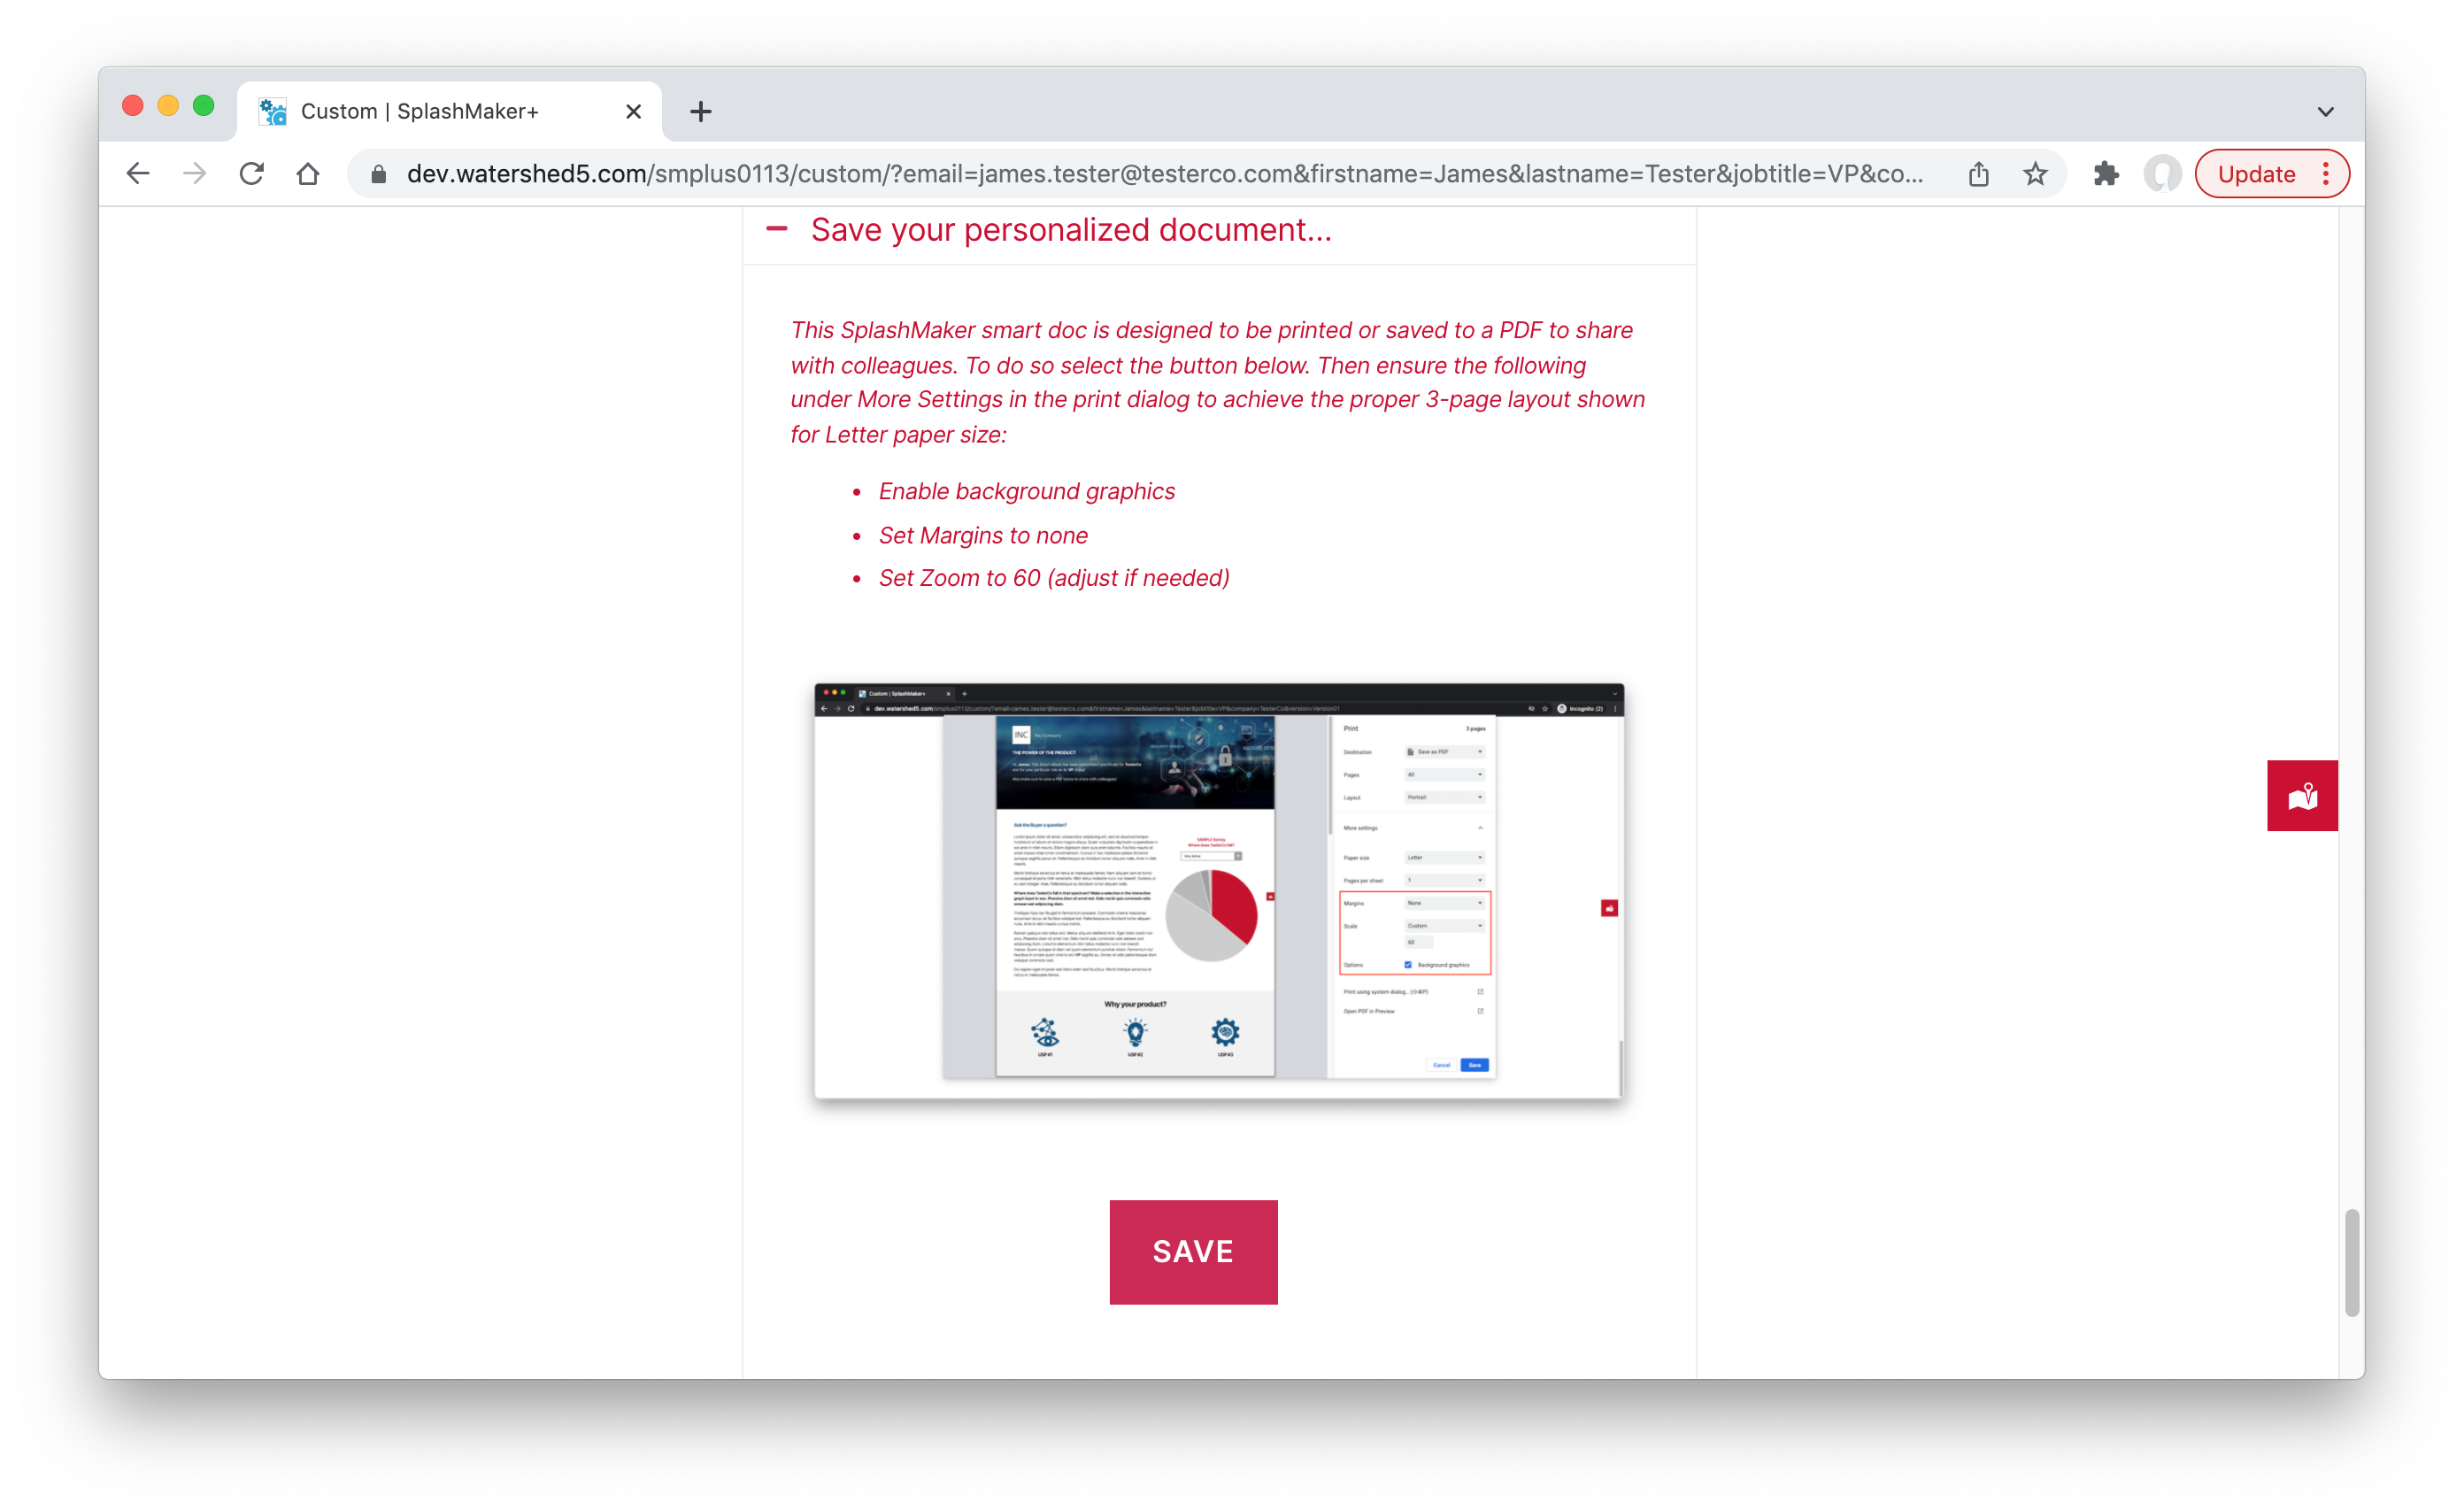
The print CSS is currently optimized for Chrome browsers. You might have to tweak it for other browsers. As you see above, we also include brief instructions with the print link as to the print settings the user will need to get the correct output.
You can also adjust the spacing settings below if you want to use a different paper format such as A4, etc.
Click here for an example PDF of one of our SmartDoc themes.
The save button is a simple call to the browser’s print function. You can change the label, wording, graphic, styling, etc. as desired within this expanding section. Just make sure to leave the code for the button as-is.
As long as the copy and/or graphics in the SmartDoc content don’t differ too much from the vertical spacing already allotted in the page template, the print out should fit the pages exactly.
Furthermore, this formatting and coding will be maintained as you create multiple DynamicContent pages from this theme as long as you simply duplicate the existing page and make edits there (keeping the layout intact).
If you start a new DynamicContent page from scratch the custom code will not apply correctly. So make sure to always duplicate what we’ve already done for you and edit that!
Let’s take a look at what you need to do to complete and/or tweak the functionality for various conditions after you’ve installed the SplashDocs Theme.
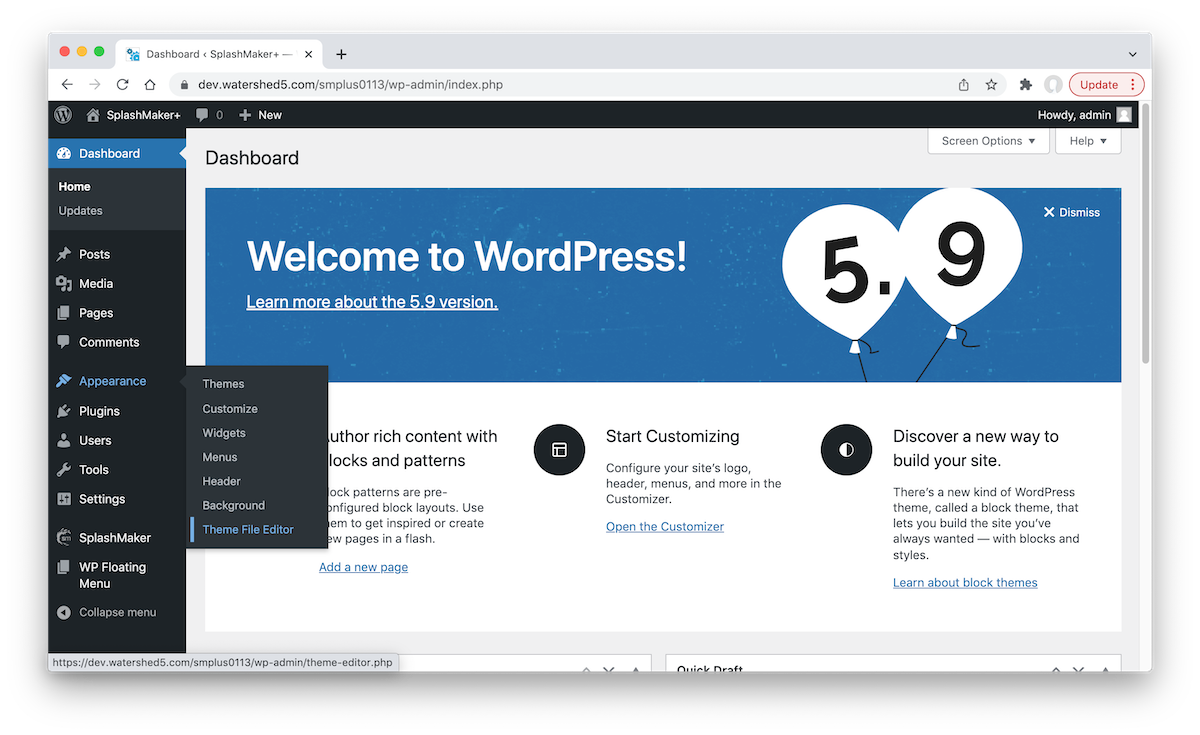
To change the CSS settings for the printing, you will need to go to the Appearance/Theme File Editor as shown…
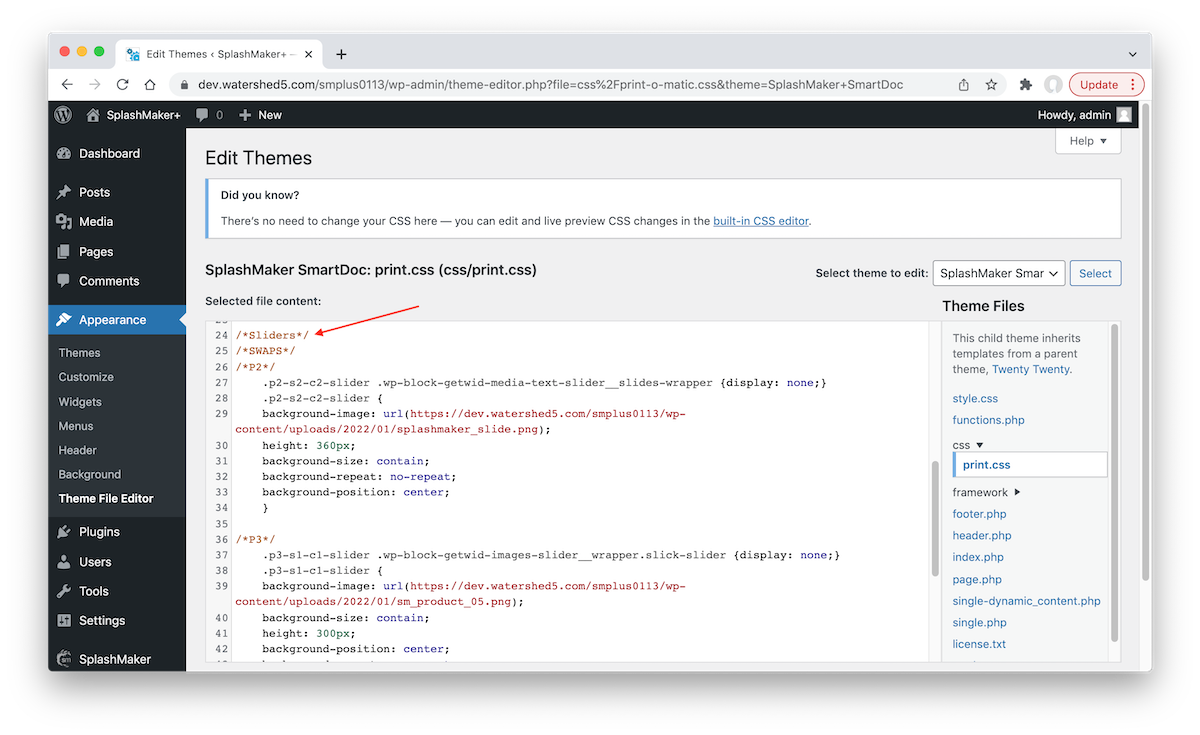
The find the “css/print.css” file in the right-side menu, and follow instructions below for various scenarios.
If, for some reason, you break something and need a fresh start on that code, you can download the CSS code file here – then cut-and-paste it into the code window of this page.
Finally, here are some specifics you’ll likely run into…
Why are the images in the PDF different from the actual doc?
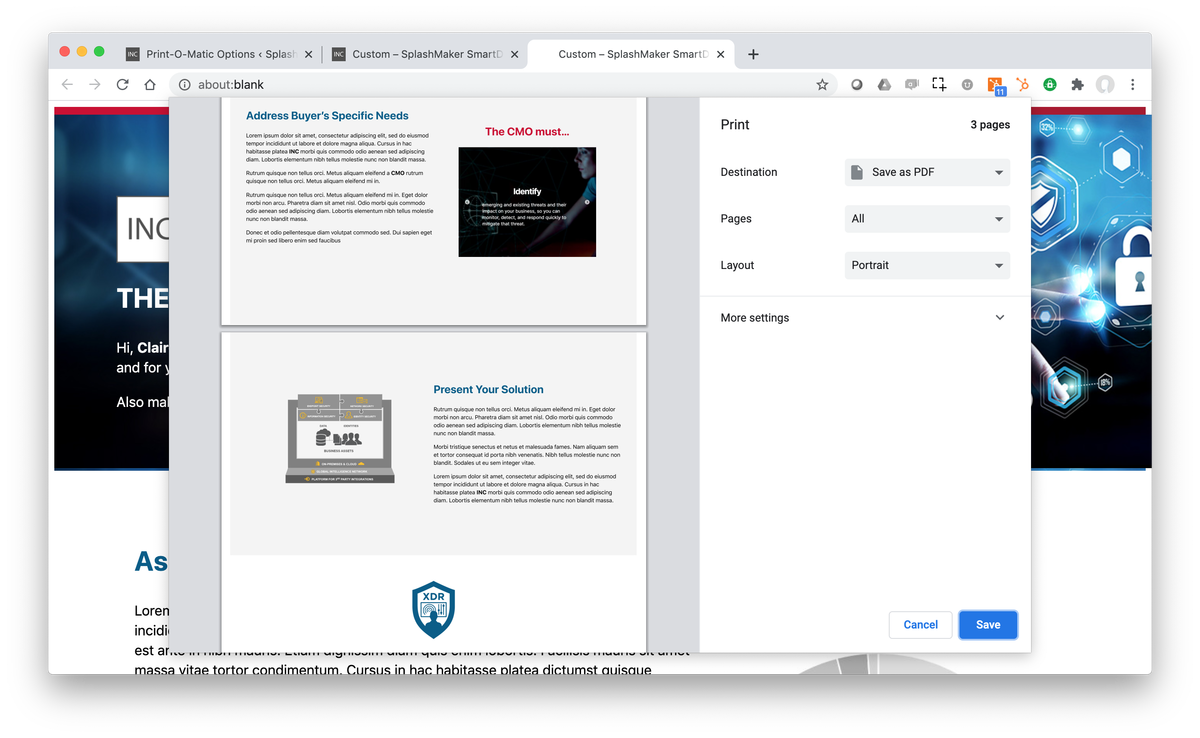
Standard images print/save just fine to your PDF. However, more advanced HTML-5 canvas elements like the sliders do not print correctly. So to get around this, we have hard-coded replacement images for those items in the CSS code to be pulled into the PDF. You’ll see them in the code as shown below (the “SWAP” items)…
So to use different images, just save out a standard replacement image of your own HTML-5 canvas element(s) the way you want it to appear in the printed version. Load it into your media library. Then swap out the URLs in the the CSS code as necessary. Adjust sizing if/as needed and that’s it!
Why doesn’t the font in the PDF match what I have in my SmartDoc?
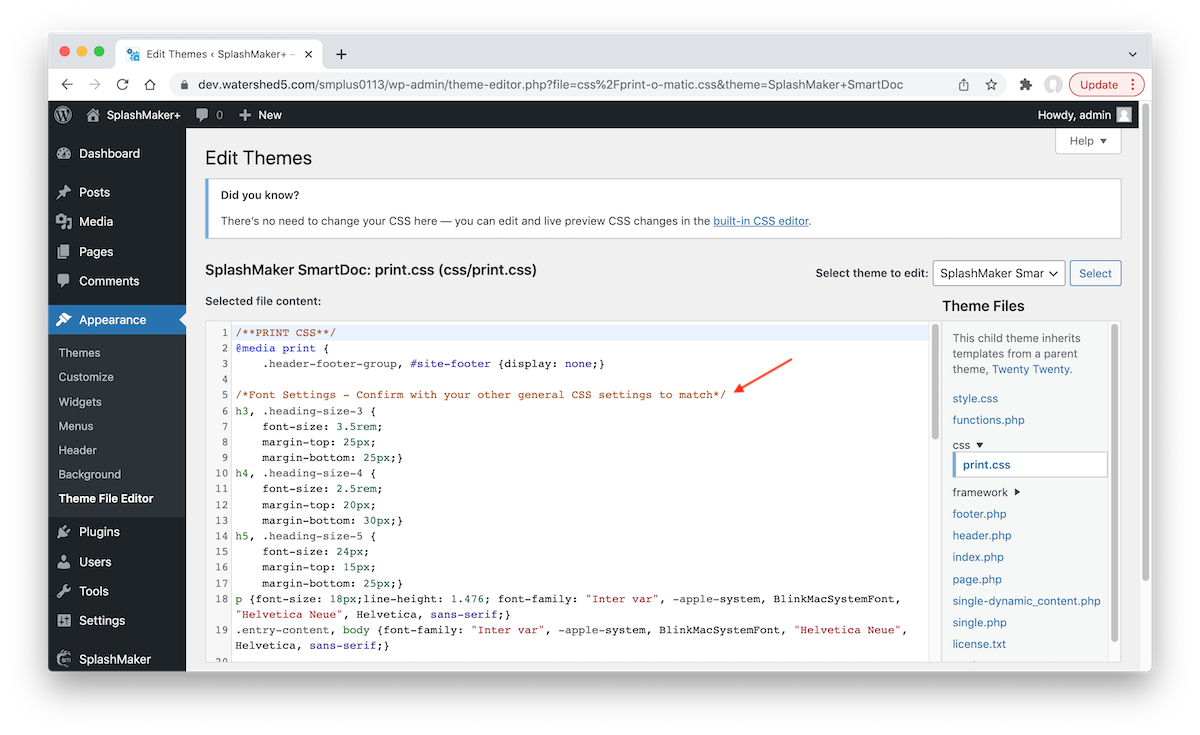
If you’ve changed the font family from the standard family that ships with our SmartDoc Theme, you’ll need to make the same changes in the custom print CSS as it has its own font controls. Just find that Font section near the top and make whatever changes are necessary to get the correct look.
What if the pages don’t line up with the page breaks?
The content is currently set to correctly align with each page break for the standard 8-1/2 x 11 page. This is done by setting fixed heights for each section block of each page. These heights are set so that the copy in the section has some flexibility to be a bit longer or shorter without throwing off the alignment.
However, if your content exceeds or falls far short of the spacing allotted by the page template (as long as it’s not a drastic change) – you can adjust the height settings for each section of the page to shift the content containers a bit to make it fit the page breaks again.
For example, let’s say you see too much blank space at the bottom of the page because you’ve shifted the graphic or copy a bit in the first section…
Here’s how to fix that for the Version01 (V1) page (the other pages work similarly and are clearly noted in the code).
First, find and select the first section at the top of that page that precedes this section going over…
Adjust its height as needed and update the page. Now try the print again. Keep doing this until the spacing for each page is correct.
As noted above, you can use this same technique to expand the layout for A4 paper, etc.
What if I want to go deeper?
We set up our SmartDoc Themes to be as easy to use as possible for content creators to start doing really cool things without the need for coding. However, if you want to add more content pages and/or just have more granular control over the various items in the pages you can easily do so via this same print CSS. You just need to understand how it’s put together so you can build on it. First, let’s look at the naming conventions for the classes…
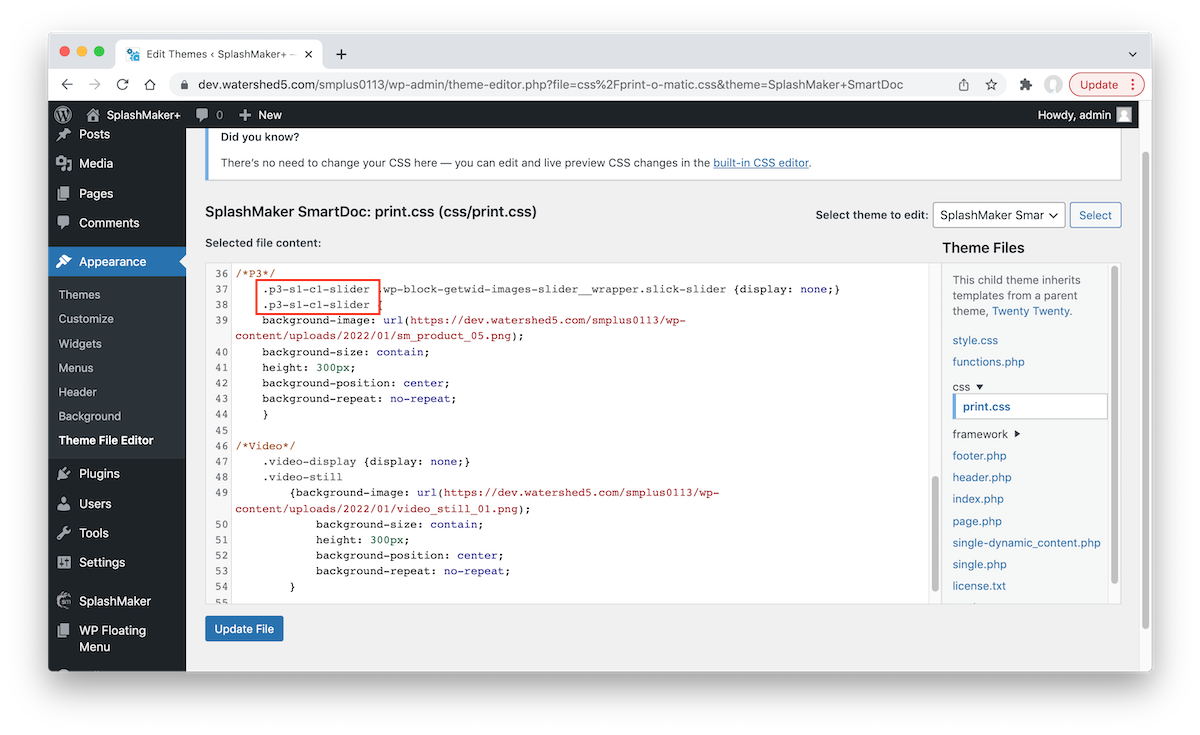
As you can see here, all the code is fully commented and laid out exactly like the pages are laid out. This makes it very easy to find specific items you might want to adjust.
The class names are based on the page, section, and column. So for example you see above the Page 3 of that Dynamic Content page (p3), and then Section 1 of that page (s1), and then, finally, you’ll see the individual Columns in that section (c1).
So, if you want to make an adjustment to the right column of the second section on page 2, you would simply use the following class: “p2-s2-c2” and make your adjustments.
Note: Since these particular items are used in both versions of the smart content there is no version distinction in the code here such as “v1-“, etc. You can certainly add that if needed.
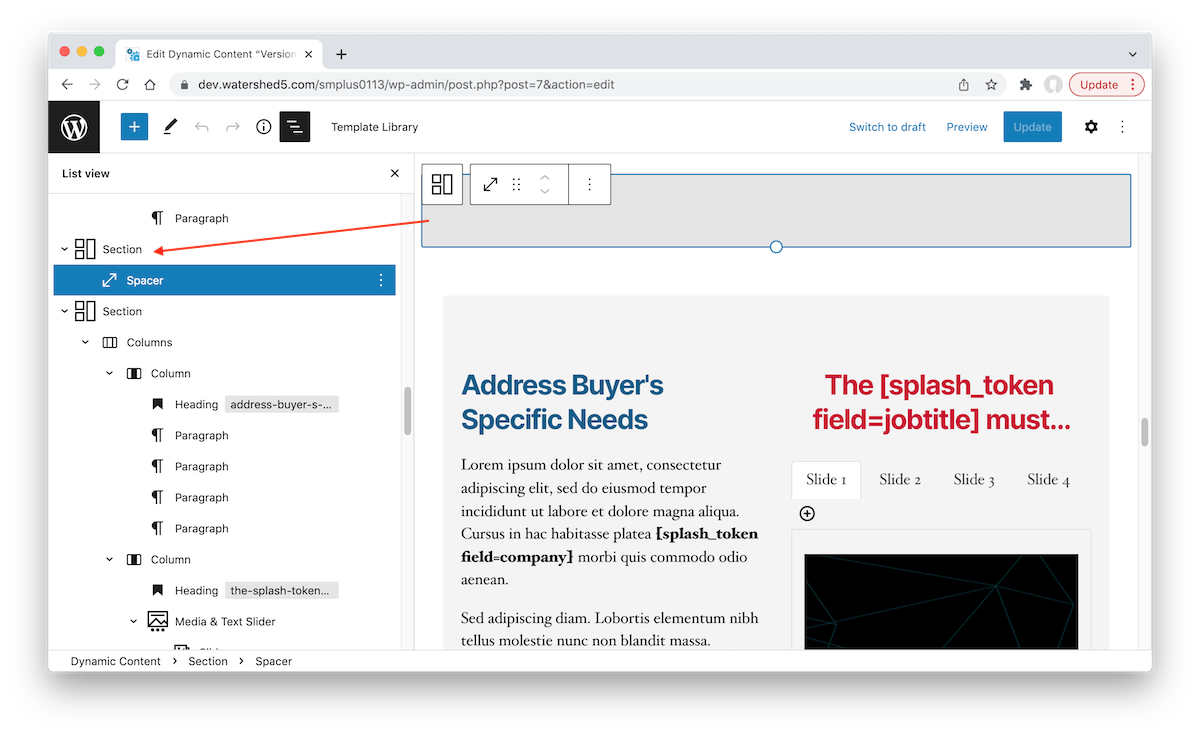
The way that this ties back to these sections and columns in the content is via the Getwid blocks used for the layout. For example, as you can see here in the lower right of the image (in the “Additional CSS classes” field) this section block has been assigned its class appropriately (v1-p1-s1) – specific to this version of the content..
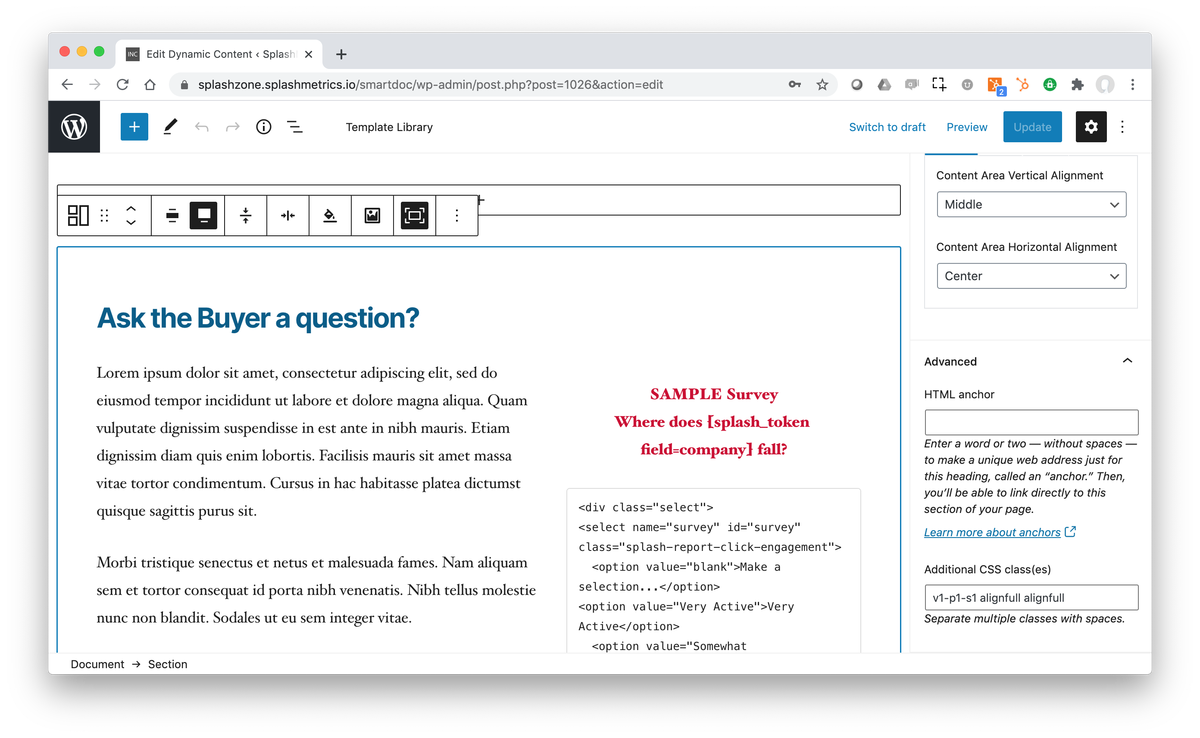
And this class item is what you’ll adjust in the print CSS as well. All the columns and other critical components also have their classes in place so you don’t have to worry about that.
So, again, all of this is already set up and ready to go. But, now that you know how it works, you can easily build on what we’ve done to take your content in completely new directions.